DIY Painting Techniques: From Brush to Rollers and Beyond
Understanding the Basics of Painting Tools
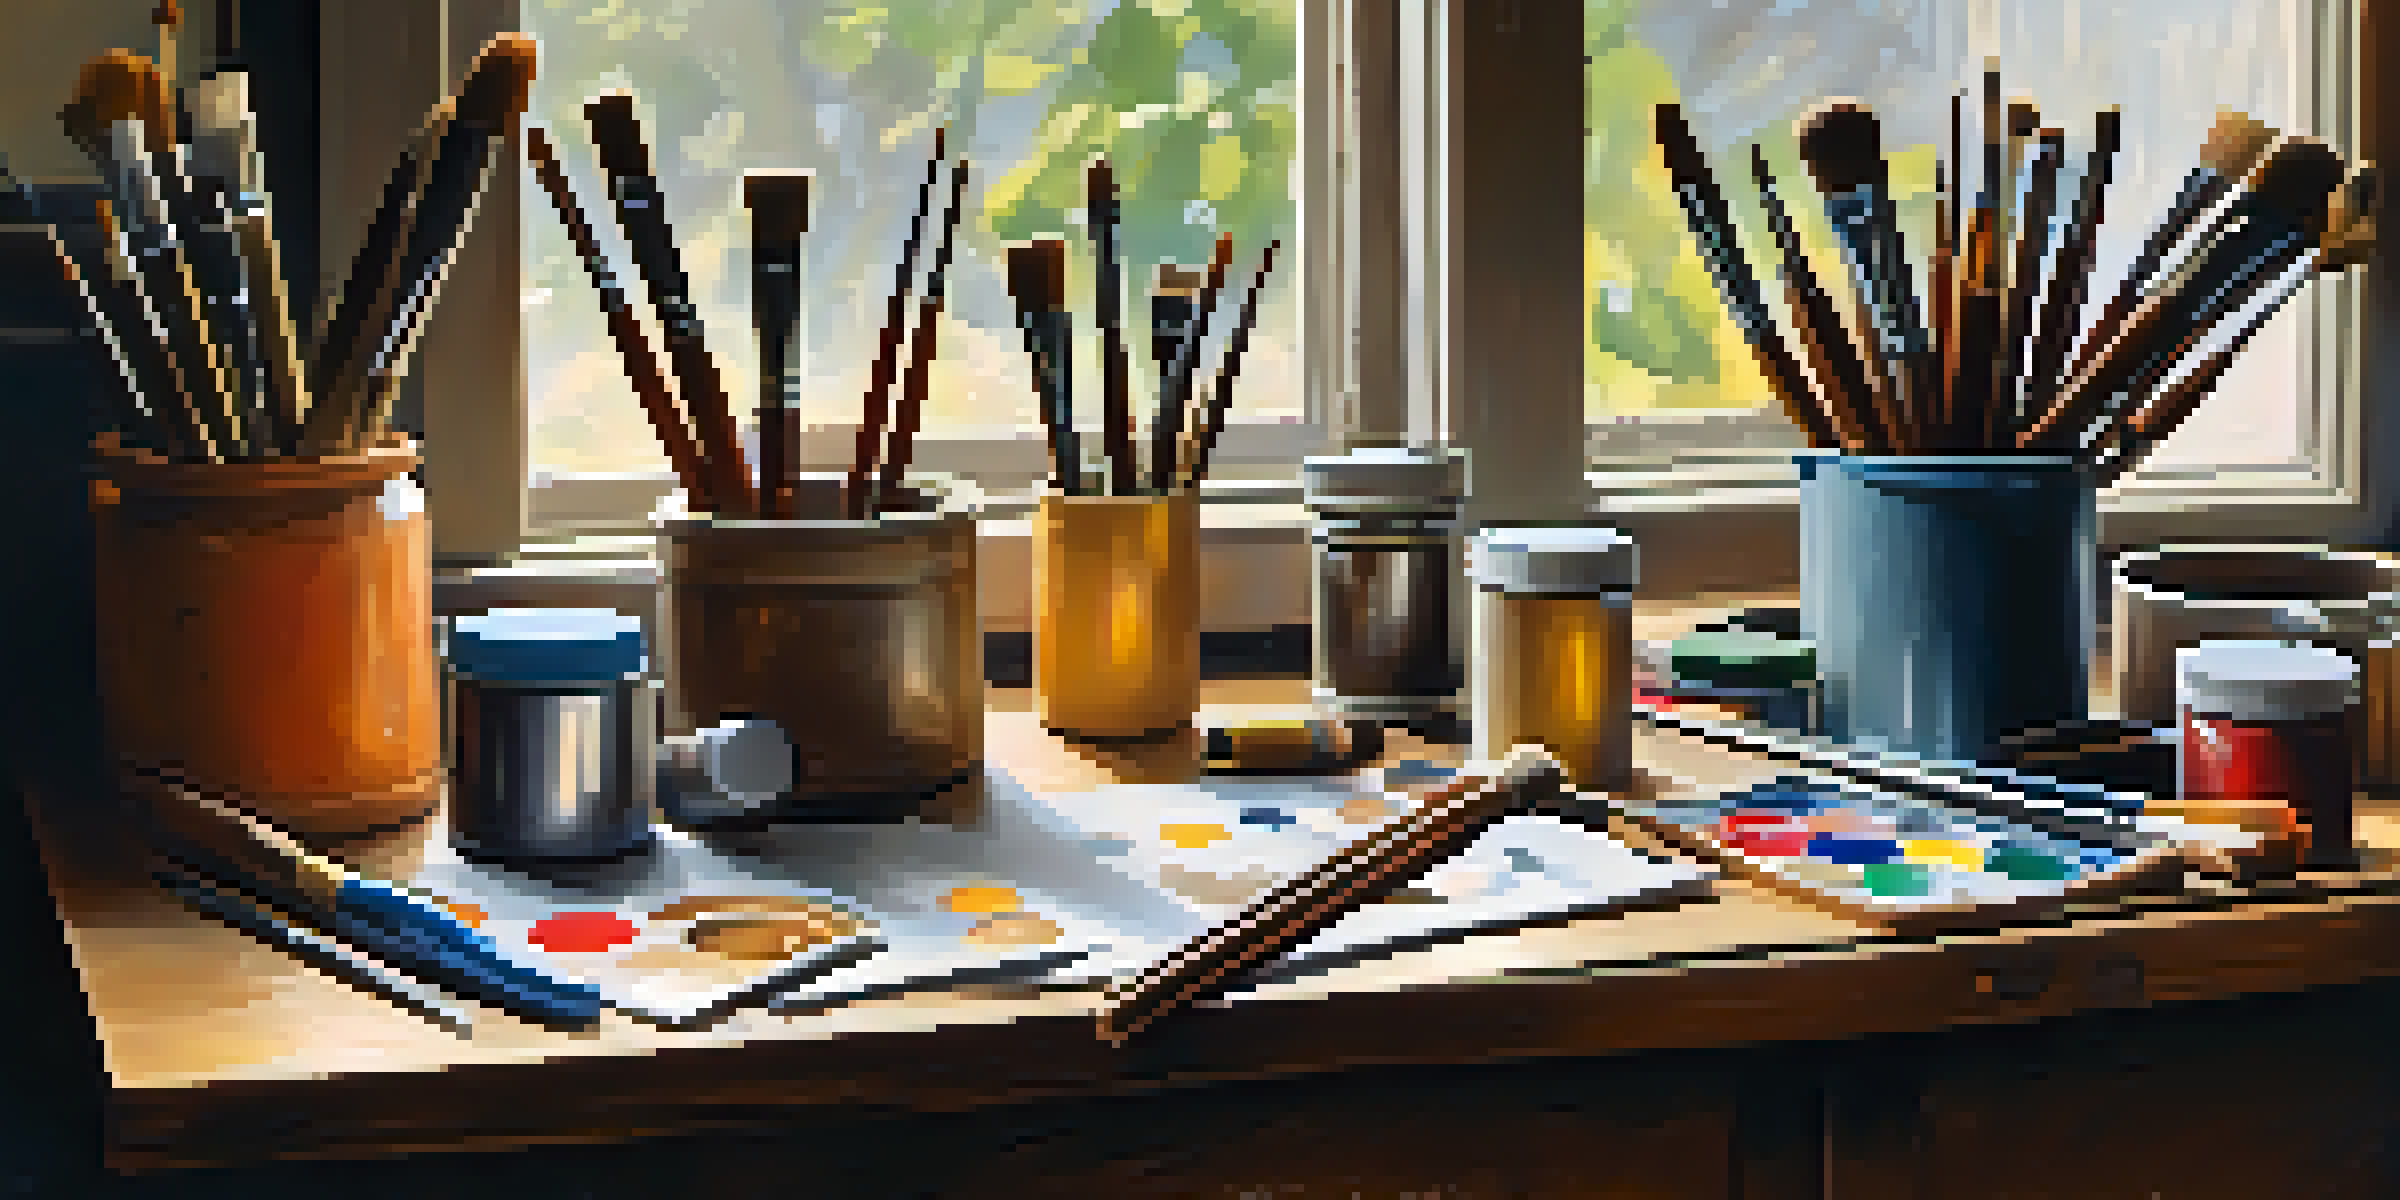
Before diving into painting, it's essential to familiarize yourself with the tools you'll be using. Brushes and rollers are the most common, each serving a unique purpose. Brushes are excellent for detailed work, while rollers cover larger areas more efficiently.
Painting is a way of keeping a record of the universe.
Choosing the right brush is crucial; for example, synthetic bristles work well with latex paints, while natural bristles are better for oil-based paints. Rollers come in various nap lengths, which determine how much paint they hold and how smooth the finish will be. Understanding these basics will set you up for success.
Experimenting with different tools can help you discover what works best for your painting style. So, don’t hesitate to try out various brushes and rollers during your projects to gain a feel for their unique characteristics.
Brush Techniques for Precision and Detail
When it comes to precision, brushes are your best friends. Techniques like 'cutting in' allow you to create clean lines along edges and corners, giving your work a polished look. This involves loading your brush with paint and carefully applying it along the trim or wall edge.
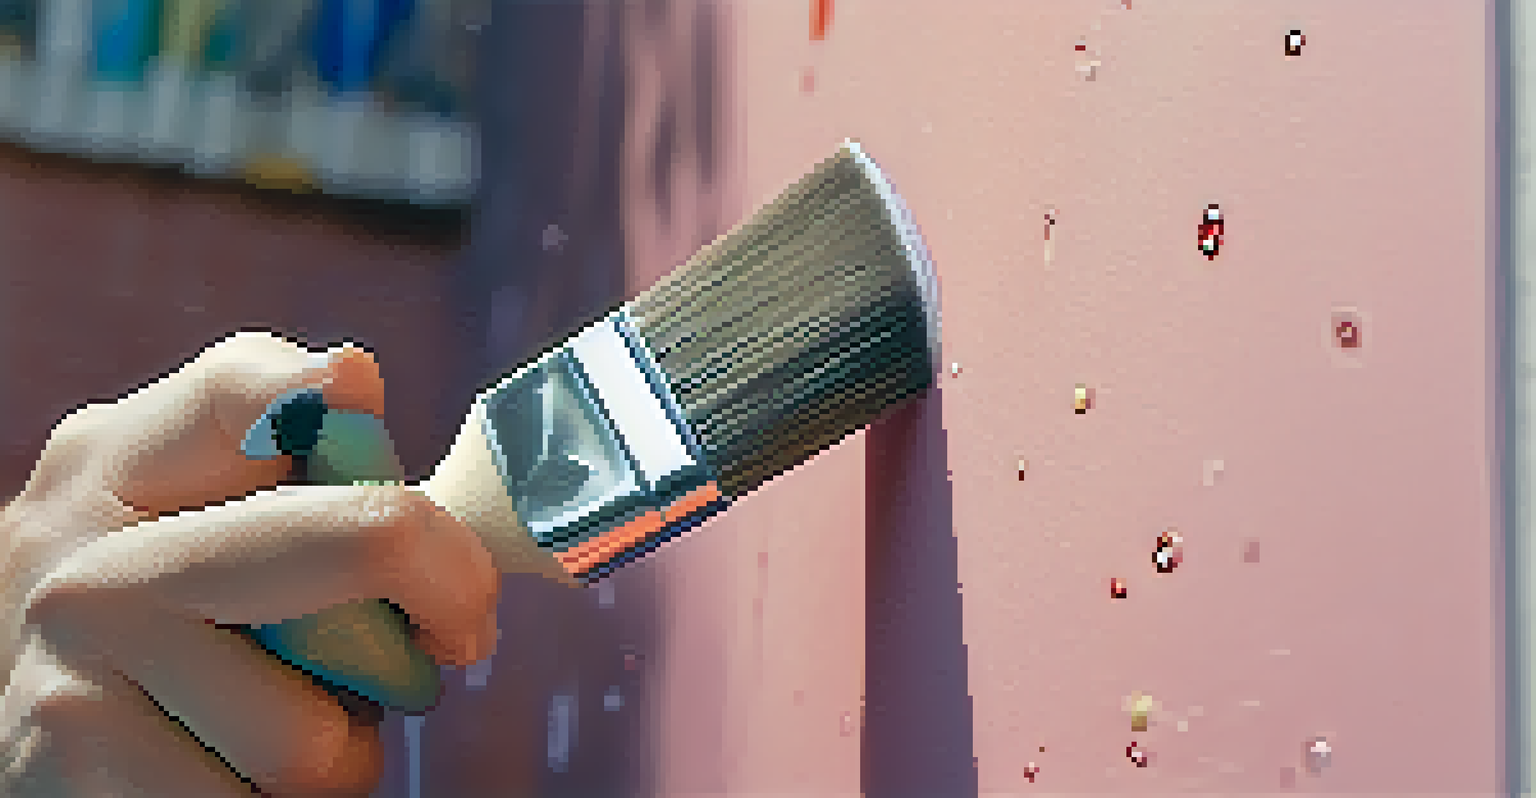
Another technique is the 'stippling' method, where you use the tip of your brush to create texture or depth. This can be particularly effective when painting furniture or adding artistic flair to walls. With a bit of practice, these techniques can greatly enhance your painting skills.
Know Your Painting Tools
Familiarizing yourself with brushes and rollers is essential for achieving successful painting results.
Don't forget that practice makes perfect! Take your time to hone these brush techniques, and soon enough, you’ll be able to achieve that professional finish you’ve always admired.
Roller Techniques for Efficient Coverage
Rollers are fantastic for quickly covering large areas while keeping a consistent finish. To achieve the best results, start by loading the roller evenly with paint, then roll it onto a tray to remove excess. This prevents drips and allows for smooth application.
Every artist dips his brush in his own soul, and paints his own nature into his pictures.
Using a 'W' pattern when rolling helps distribute paint evenly across the surface. Begin at the top and work your way down, overlapping each stroke slightly to avoid streaks. This technique is especially useful for ceilings and large walls.
Remember, the type of roller nap you choose will affect the finish. A shorter nap provides a smoother finish, while a longer nap is great for textured surfaces. Experiment with different rollers to find your perfect match!
Advanced Techniques: Sponging and Rag Rolling
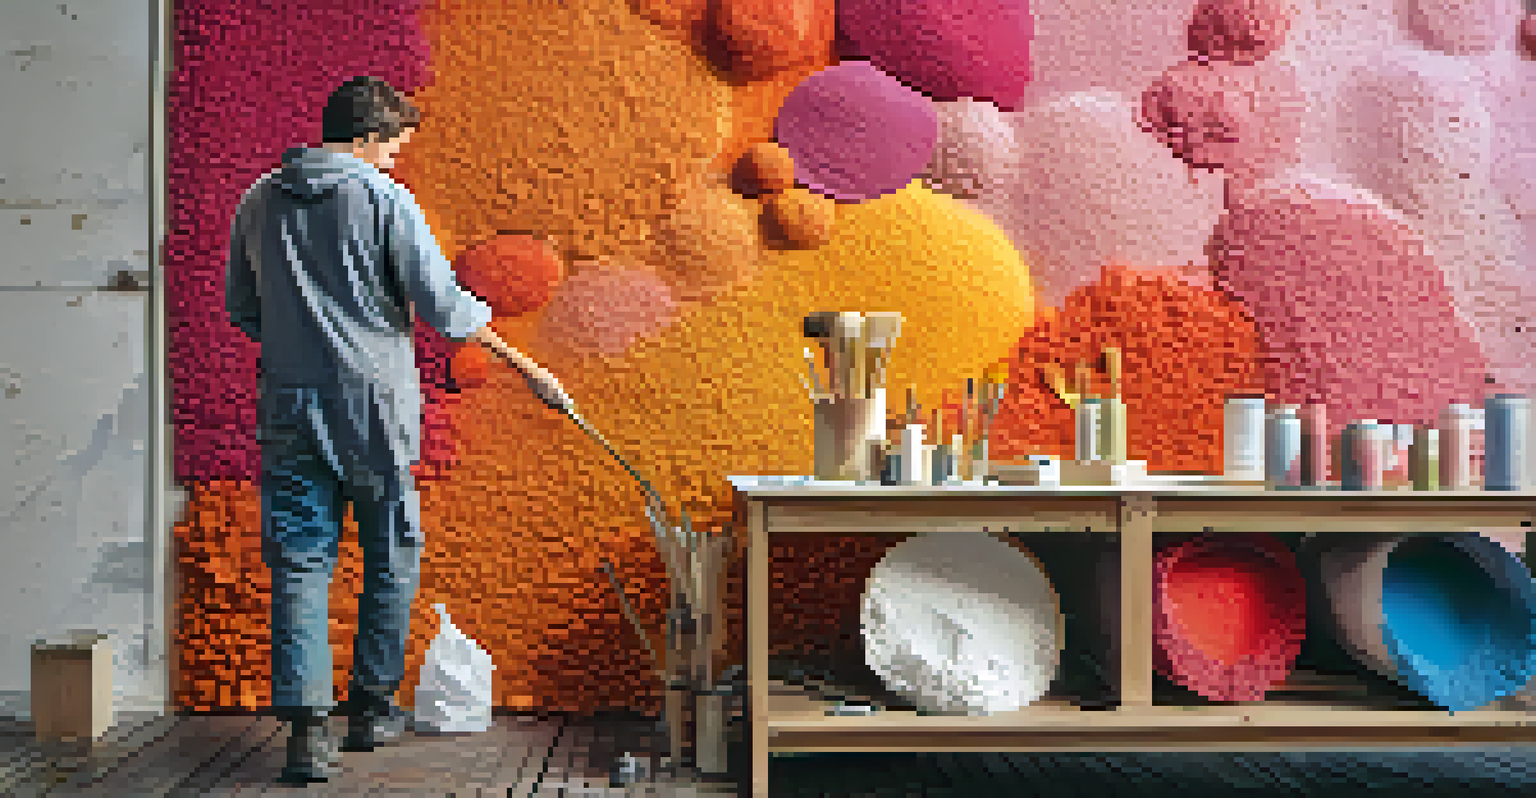
Once you've mastered the basics, why not explore advanced techniques like sponging and rag rolling? Sponging involves using a natural sponge to dab paint onto the wall, creating a soft, textured look. This technique works beautifully for accent walls or to add depth to a room.
Rag rolling, on the other hand, gives a more dramatic effect with a rolling motion using a rag. By rolling the rag over wet paint, you can create unique patterns that add character to your walls. Both techniques require a bit of practice but can elevate your DIY projects significantly.
Mastering Techniques Matters
Practicing techniques like cutting in for brushes and using a 'W' pattern for rollers can significantly enhance your painting skills.
These methods allow for endless creativity. Don't be afraid to play around with colors and textures until you find the combination that resonates with your style!
The Importance of Surface Preparation
Before you start painting, proper surface preparation is key. This means cleaning, sanding, and priming the surface to ensure the best possible adhesion of paint. Dust, grease, or imperfections can lead to a disappointing finish, so take your time in this step.
If you're painting over a darker color, consider applying a primer to help the new color stand out. Primers are especially helpful when changing from a glossy finish to a matte one or when painting a lighter color over a darker one. They can save you time and paint in the long run.
Investing a little effort in preparation can make your final results much more satisfying. After all, a beautifully painted surface starts with a well-prepared canvas!
Color Theory for DIY Painters
Understanding color theory is crucial for any DIY painter. Colors can change the mood of a room, and choosing the right palette can make all the difference. Consider the impact of warm versus cool colors: warm colors like reds and yellows can energize a space, while cool colors like blues and greens create calm.
Utilizing a color wheel can help you find complementary colors and create a cohesive look throughout your home. Don’t be afraid to experiment with different shades and tones to discover what feels right in each room. Test colors on your walls before committing to a full paint job.
Prioritize Surface Preparation
Properly preparing surfaces ensures better paint adhesion and a more satisfying final finish.
Remember, the right color can transform a space and reflect your personal style. So take your time, explore different combinations, and have fun with it!
Safety Tips for a Successful Painting Project
Safety should always be a priority during your painting projects. Ensure proper ventilation by opening windows or using fans to circulate air, especially when using oil-based paints or strong solvents. Wearing a mask can help protect your lungs from fumes and dust.
Don’t forget about your eyes! Goggles can shield them from splashes, and gloves can protect your skin from harsh chemicals. It’s also wise to wear old clothes or an apron since paint can easily splatter, and those stains can be tough to remove.
By following these safety tips, you can ensure a more enjoyable and worry-free painting experience. After all, the goal is to create a beautiful space while keeping yourself safe!