How to Paint a Room Like a Pro: Tips for Beginners
Choosing the Right Paint Type for Your Project
Selecting the right type of paint is crucial for achieving a professional finish. Interior paint typically comes in two finishes: matte and glossy. Matte is great for hiding imperfections, while glossy reflects light and is easier to clean, making it ideal for high-traffic areas.
Color is the keyboard, the eyes are the harmonies, the soul is the piano with many strings.
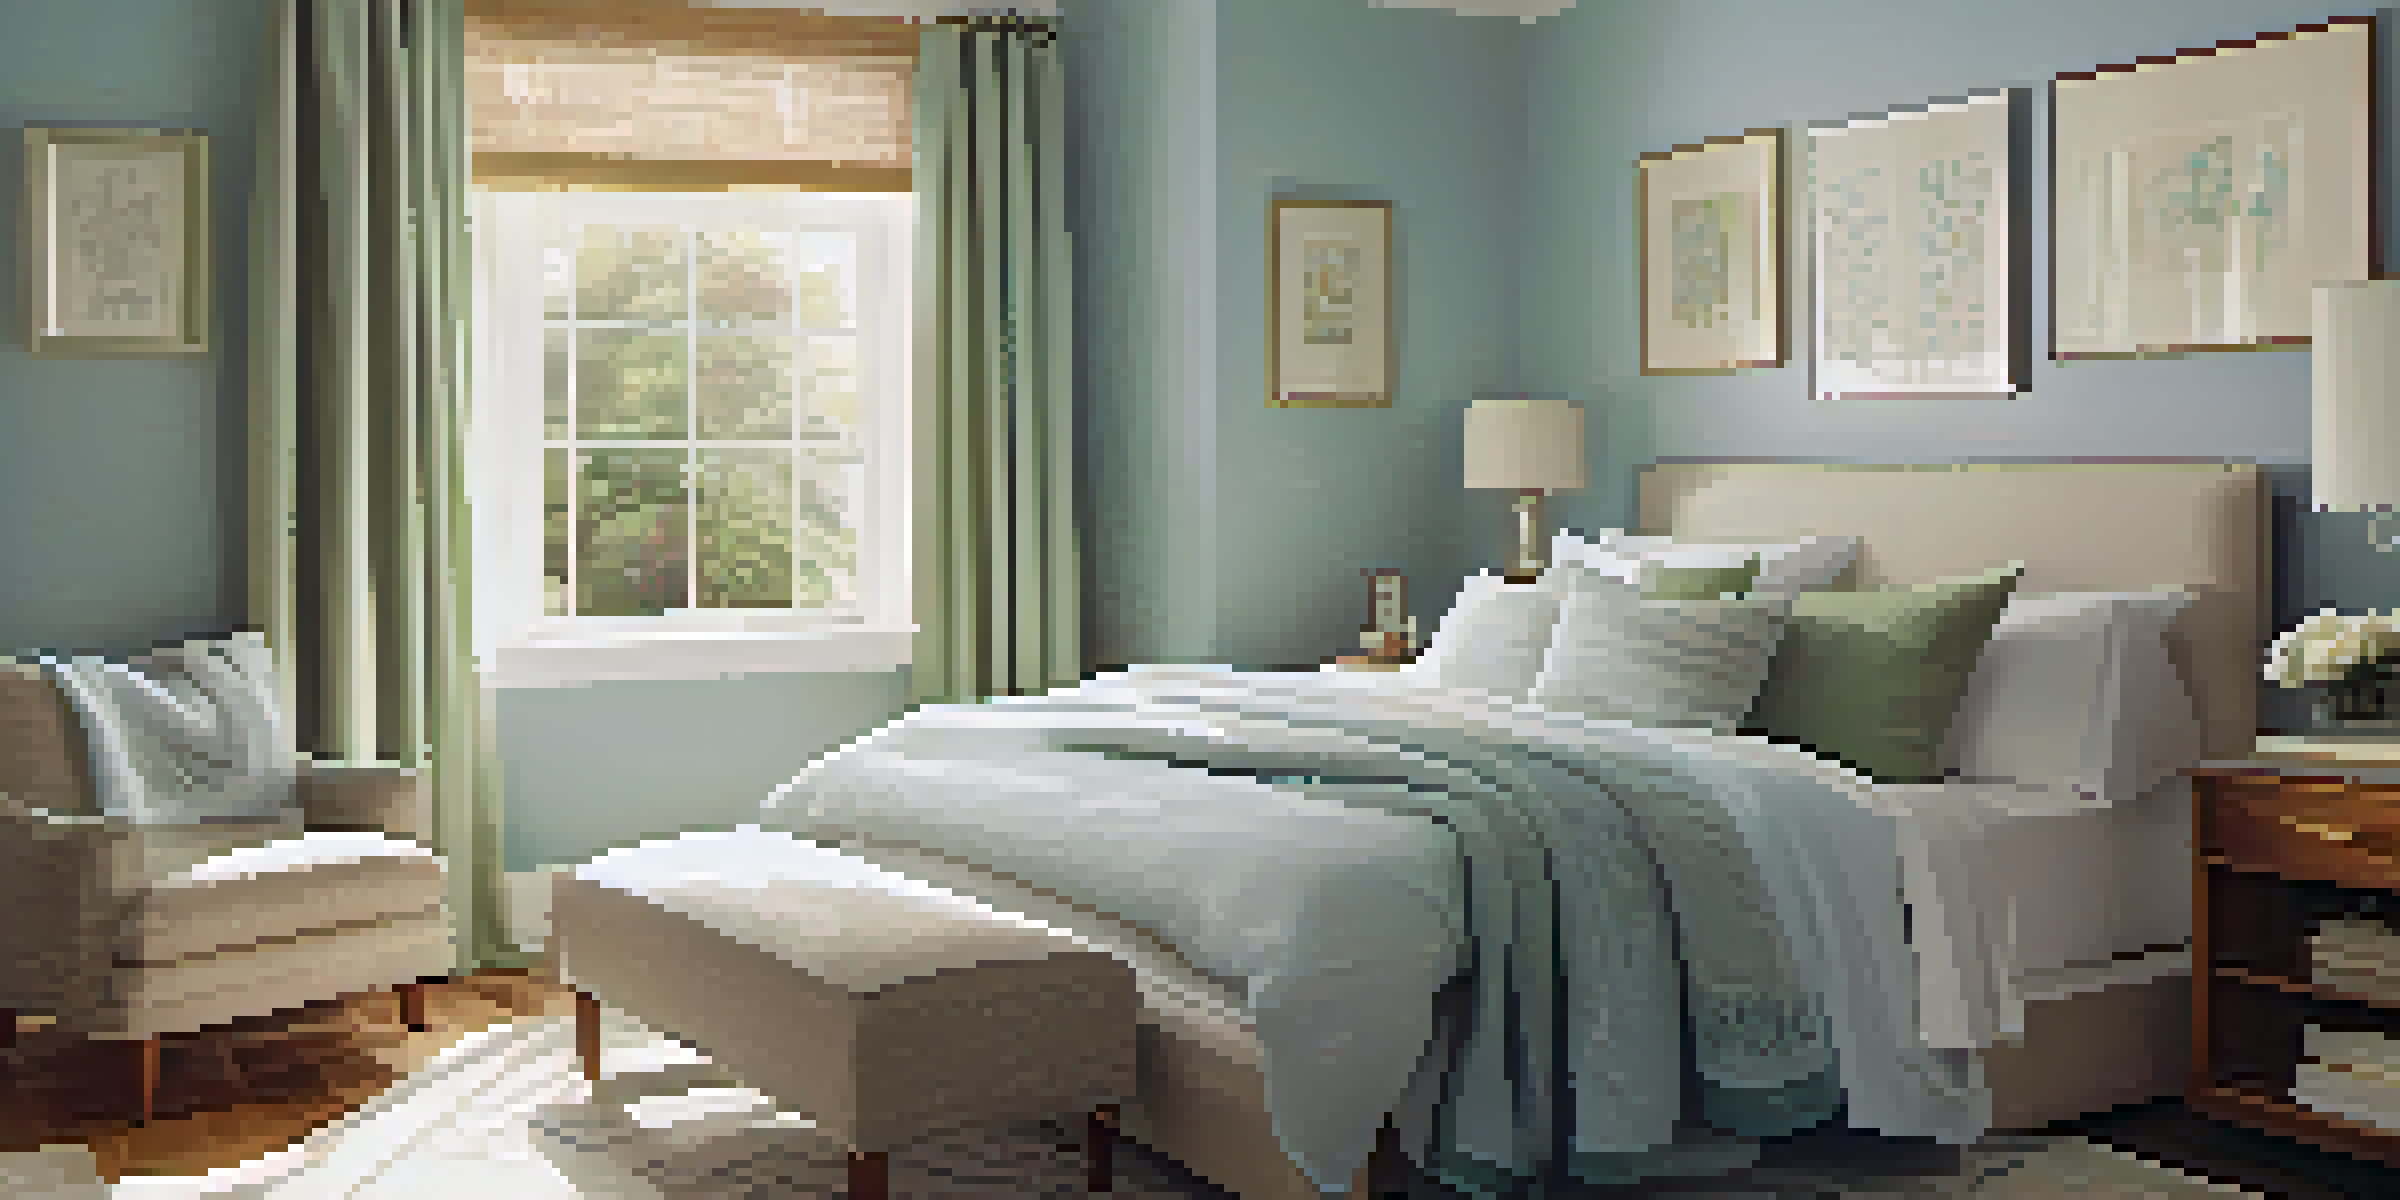
Consider the room's purpose when choosing your paint. For example, in kitchens and bathrooms, moisture-resistant paint can help prevent mold and mildew. Meanwhile, a cozy bedroom might benefit from a softer, more muted color palette.
Lastly, don’t forget about paint quality. Higher-quality paints often cover better and require fewer coats, saving you time and effort in the long run. Investing in good paint is a step towards achieving that professional look.
Preparing Your Space: The Key to a Flawless Finish
Preparation is half the battle when it comes to painting. Start by clearing the room of furniture and covering the floor with drop cloths to protect it from spills. This not only keeps your space tidy but also allows you to move freely while you work.
Next, clean the walls to remove dust and grime. This step is often overlooked but can significantly affect how well the paint adheres. Use a damp cloth or sponge and allow the walls to dry completely before proceeding.
Select the Right Paint Type
Choosing the appropriate paint type based on room function and quality is essential for achieving a professional finish.
Finally, tape off edges and trim with painter's tape. This creates clean lines and prevents paint from bleeding onto surfaces you want to keep untouched. Taking the time to prepare properly will pay off with a more polished final product.
Gathering Essential Painting Tools for Beginners
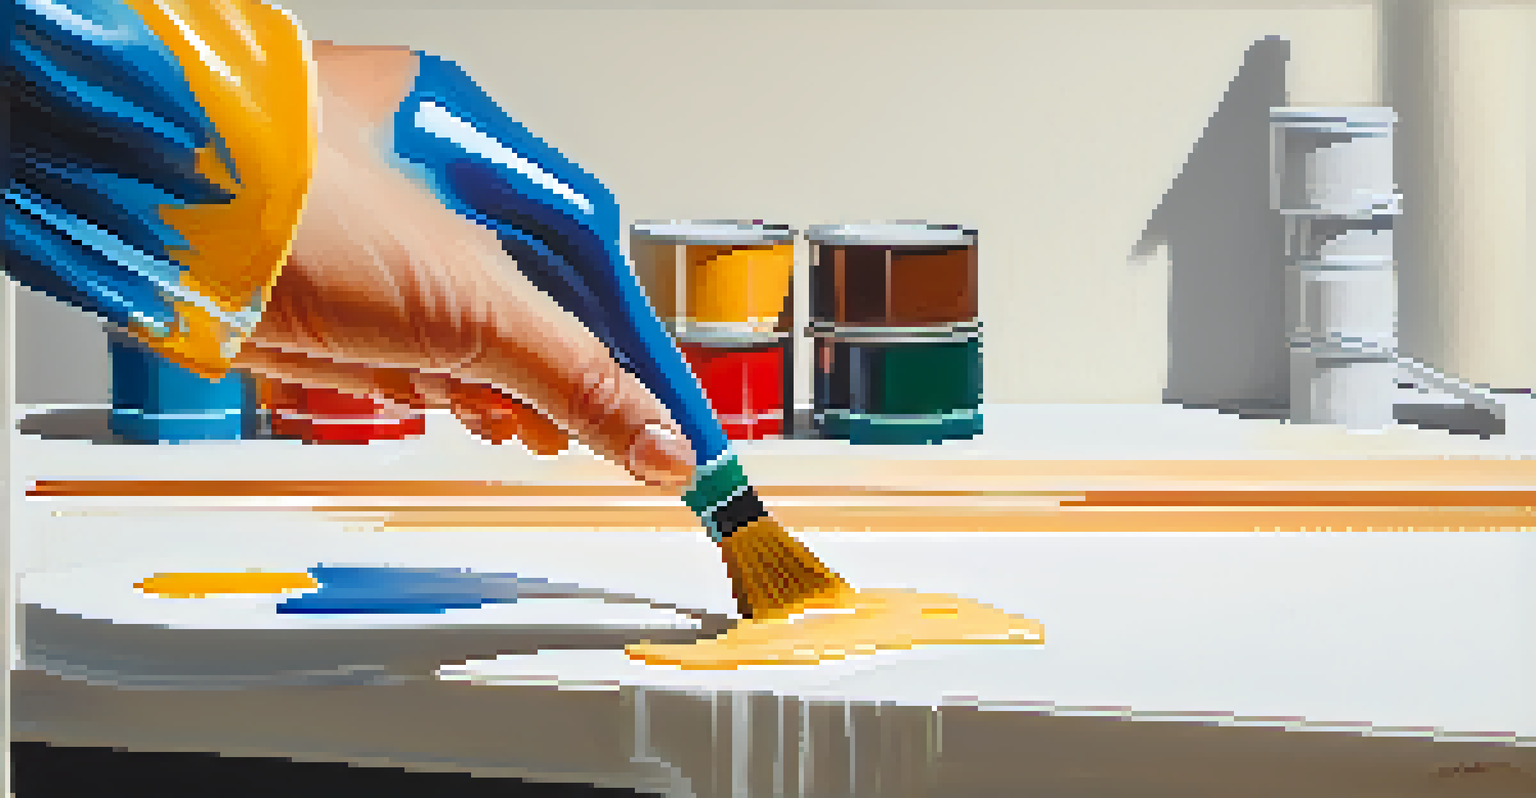
Having the right tools can make or break your painting experience. Basic supplies include brushes, rollers, trays, and painter's tape, but don’t underestimate the impact of a good-quality brush. A high-quality brush can help you achieve a smoother finish and reduce the risk of streaks.
The details are not the details. They make the design.
Additionally, consider investing in a roller with an extension pole. This will save you from climbing ladders and provide a more even coat on ceilings and high walls. A paint tray with a liner makes clean-up easier and helps you manage paint more effectively.
Lastly, don’t forget about safety gear. A mask can protect you from inhaling fumes, and goggles can shield your eyes from splashes. Being prepared not only enhances your efficiency but also keeps you safe while getting the job done.
Mastering the Painting Technique: Brush vs. Roller
When it comes to painting, knowing when to use a brush or a roller is essential. Rollers are ideal for covering large, flat surfaces quickly and efficiently, while brushes are perfect for corners and edges where precision is key. This combination allows for a more consistent application.
To use a roller effectively, dip it into the paint tray, roll off excess paint, and apply it to the wall in a 'W' pattern. This technique helps distribute paint evenly and reduces the chances of streaking. For edges and touch-ups, use a brush to carefully fill in areas where the roller can’t reach.
Prepare Your Space Thoroughly
Proper preparation, including cleaning walls and taping edges, is crucial for a flawless paint job.
Remember to work in small sections and maintain a wet edge. This means overlapping fresh paint with previously applied paint to avoid visible lines. With practice, you'll find your rhythm and achieve that professional look effortlessly.
Choosing the Right Color Scheme for Your Room
Color can transform a space, so choosing the right palette is important. Consider the mood you want to create; for instance, soft blues and greens can evoke calmness, while vibrant reds and yellows can energize a room. Think about how you want to feel in your newly painted space.
A good tip is to start with a neutral base and add pops of color through accents like furniture or decor. This way, you can easily change the room's vibe without committing to a bold color on all four walls. Swatches are your best friend; sample a few colors on the wall and see how they look in different lighting throughout the day.
Finally, don’t hesitate to draw inspiration from your favorite spaces or even nature. Sometimes, the best color combinations come from the world around us. Embrace your creativity and let it shine through in your color choices.
Timing Your Paint Job: Best Practices for Drying
Timing is everything when it comes to painting. After applying the first coat, check the manufacturer’s instructions for drying times, which can vary based on the type of paint and environmental conditions. Typically, waiting at least two to four hours between coats is advisable to ensure a smooth finish.
Consider the weather, too. Humidity and temperature can affect drying time. If it’s humid, you might need more time between coats, while a hot, dry day could speed up the process. Keeping windows open for ventilation can also help with drying.
Master Painting Techniques
Understanding when to use brushes or rollers and maintaining a wet edge helps ensure an even and consistent application.
Lastly, patience pays off. Rushing to apply additional coats can lead to peeling or uneven surfaces. By allowing adequate drying time, you’ll end up with a more durable and professional-looking paint job.
Finishing Touches: Cleaning Up and Adding Details
Once you've finished painting, it’s time for the finishing touches. Carefully remove painter's tape while the paint is still slightly wet to prevent peeling. This small step can make a big difference in having clean, crisp lines.
Next, take a moment to inspect your work. Look for any missed spots or areas that need a touch-up. Having a small brush handy for these details can help you achieve that flawless finish. Don’t rush this step, as it truly polishes your overall effort.
Finally, clean your brushes and rollers right away to prolong their lifespan. Use warm, soapy water for latex paint, or a solvent for oil-based paints. Once everything is clean and tidy, step back and admire your newly transformed space—it’s all about enjoying the fruits of your labor!