Painting Furniture: Revitalize Your Home Decor on a Budget
Why Painting Furniture is a Smart Choice for Home Decor
Revamping your home decor doesn't always require a complete overhaul. One of the simplest and most effective ways to breathe new life into your space is by painting your furniture. Not only is it budget-friendly, but it also allows you to express your creativity and personal style.
Creativity takes courage.
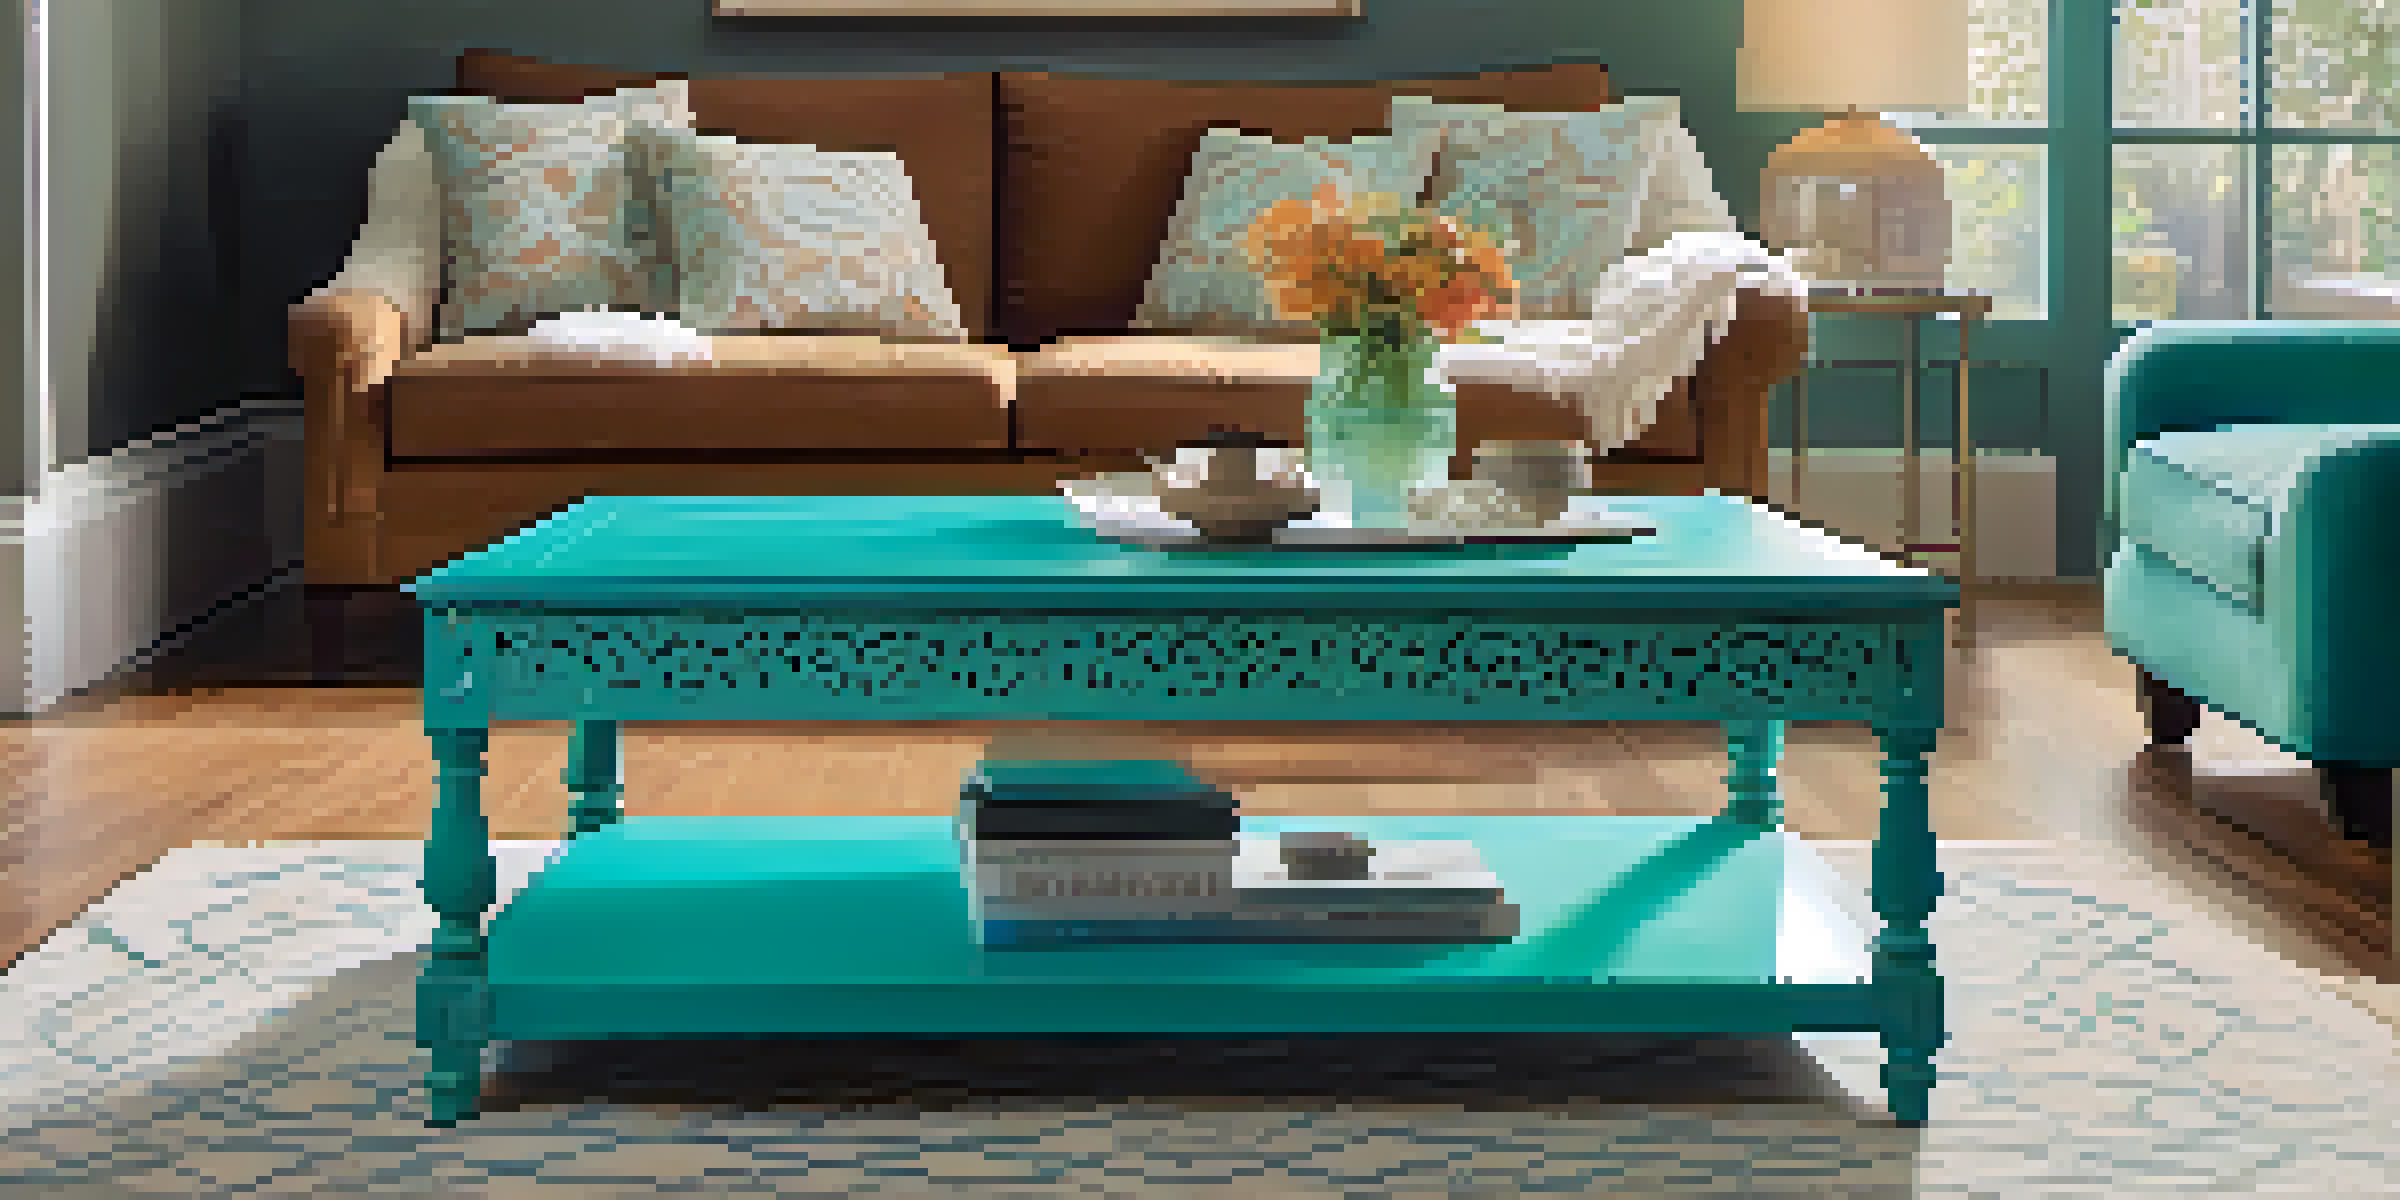
Imagine turning an old, drab coffee table into a vibrant centerpiece that sparks joy every time you enter the room. By choosing the right colors and techniques, you can transform mundane pieces into stunning focal points that reflect your personality.
Plus, painting furniture is an environmentally friendly option. Instead of throwing away old pieces, you give them a new lease on life, which is not only sustainable but also a great conversation starter at your next gathering.
Choosing the Right Furniture for Painting Projects
Not all furniture is created equal when it comes to painting. Solid wood and well-constructed pieces typically provide the best results, while laminates and particle board can be tricky. Before you dive into your project, assess what you have and determine which pieces are worth the effort.

Think about the furniture items that could use a refresh—a worn-out chair, an outdated side table, or even a dull dresser. These items can serve as your canvas for creativity and can dramatically change the look of your space with just a little paint.
Transform Your Space with Paint
Painting furniture not only revitalizes your decor but also allows you to showcase your creativity.
Remember, the goal is not just to paint for the sake of painting; choose pieces that you use regularly and that will enhance your daily life. This way, your efforts will yield functional and aesthetic rewards.
Essential Tools and Materials for Painting Furniture
Before you start painting, gather all the necessary tools and materials. You'll need sandpaper, primer, paint, brushes or rollers, and a sealant to protect your finished piece. Having everything on hand will make the process smooth and enjoyable.
The best way to predict the future is to create it.
Consider using chalk paint for a matte finish, as it's easy to apply and requires little prep work. If you want a high-gloss look, opt for acrylic or enamel paints. Also, don't skimp on quality brushes; they can make a significant difference in the application and finish of your paint.
Finally, don’t forget to protect your workspace. Lay down drop cloths to avoid paint spills and wear old clothes that you won’t mind getting a little messy. A well-prepared space will allow you to focus on the fun part—getting creative!
Preparing Your Furniture for a Fresh Coat of Paint
Preparation is key to achieving a professional-looking finish, so take your time with this step. Start by cleaning your furniture to remove any dust or grease. Then, lightly sand the surface to create a smooth base for the paint to adhere to.
If the piece has any existing finishes or paint, stripping or sanding these down can help your new paint stick better. After sanding, wipe down the furniture with a damp cloth to remove any dust particles that can mar the finish.
Choose the Right Pieces to Paint
Selecting solid wood furniture can yield the best results, enhancing both aesthetics and functionality.
Lastly, applying a coat of primer can significantly improve the durability and appearance of your paint job. Primer helps the paint adhere better and can also prevent any stains from bleeding through, ensuring your piece looks flawless.
Techniques for Painting Furniture Like a Pro
Once your furniture is prepped, it’s time to dive into the painting process. Start with the edges and corners using a brush, then move onto larger surfaces with a roller for a smoother finish. Remember to apply thin coats; it’s better to do multiple light coats than one heavy coat that can drip and clump.
For a distressed look, once your paint is dry, you can sand certain areas to reveal the wood beneath or add a layer of glaze for added depth. Experiment with techniques like sponging or stenciling to add unique designs that fit your style.
Don’t rush the process—allow each coat to dry fully before adding another. This patience will pay off, resulting in a beautifully finished piece that you’ll be proud to showcase in your home.
Finishing Touches: Sealing Your Painted Furniture
After achieving your desired look, it’s crucial to seal the paint to protect your hard work. A good sealant will help guard against scratches and stains while enhancing the color. Options include clear acrylic sealers or wax, depending on the finish you prefer.
Apply the sealant according to the manufacturer's instructions. Typically, you’ll want to use a clean brush or cloth and work in thin layers, allowing each layer to dry completely before adding more. This extra step will ensure that your piece stands the test of time.
Prep and Seal for Lasting Quality
Proper preparation and sealing techniques are essential for achieving a durable and professional finish.
Finally, once the sealant is dry, place your newly painted furniture back in your home and enjoy the transformation. You’ll likely find that not only does the piece look great, but it also feels like a unique part of your decor.
Inspiration and Ideas for Your Next Furniture Painting Project
Feeling stuck on how to get started? Look for inspiration online through platforms like Pinterest or Instagram. You’ll find countless ideas ranging from bold color choices to intricate designs that can spark your imagination.
Consider the overall theme of your home when choosing colors and styles. For instance, if you have a rustic decor style, muted earth tones or distressed finishes can complement your aesthetic beautifully. On the other hand, if your space is more modern, bright, glossy colors might be the way to go.
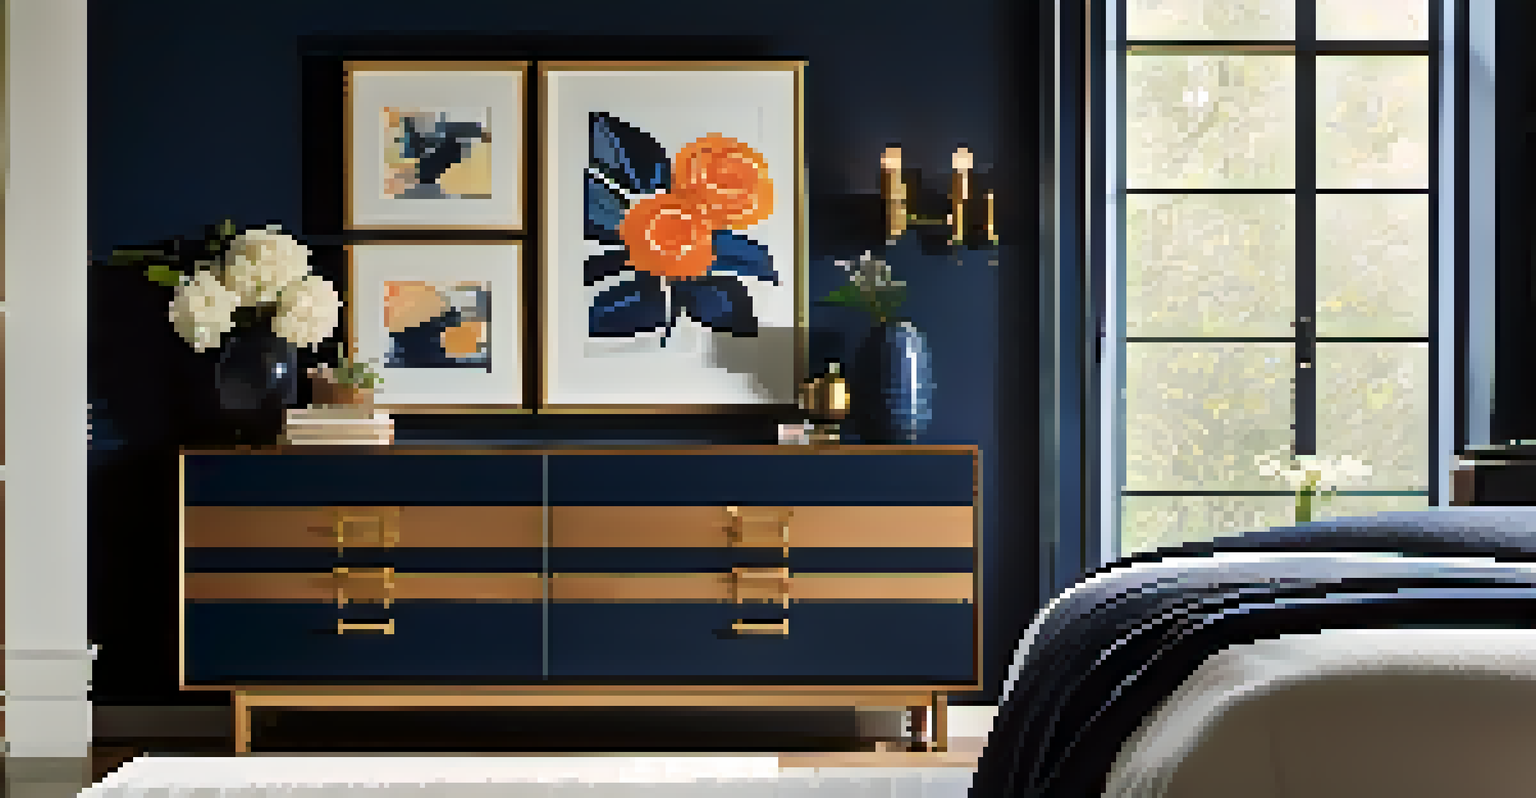
Above all, let your personality shine through. The beauty of painting furniture is that it’s a reflection of your tastes and preferences. So, don’t hesitate to experiment and have fun with it!