Preparing Your Walls: A Step-by-Step Painting Guide
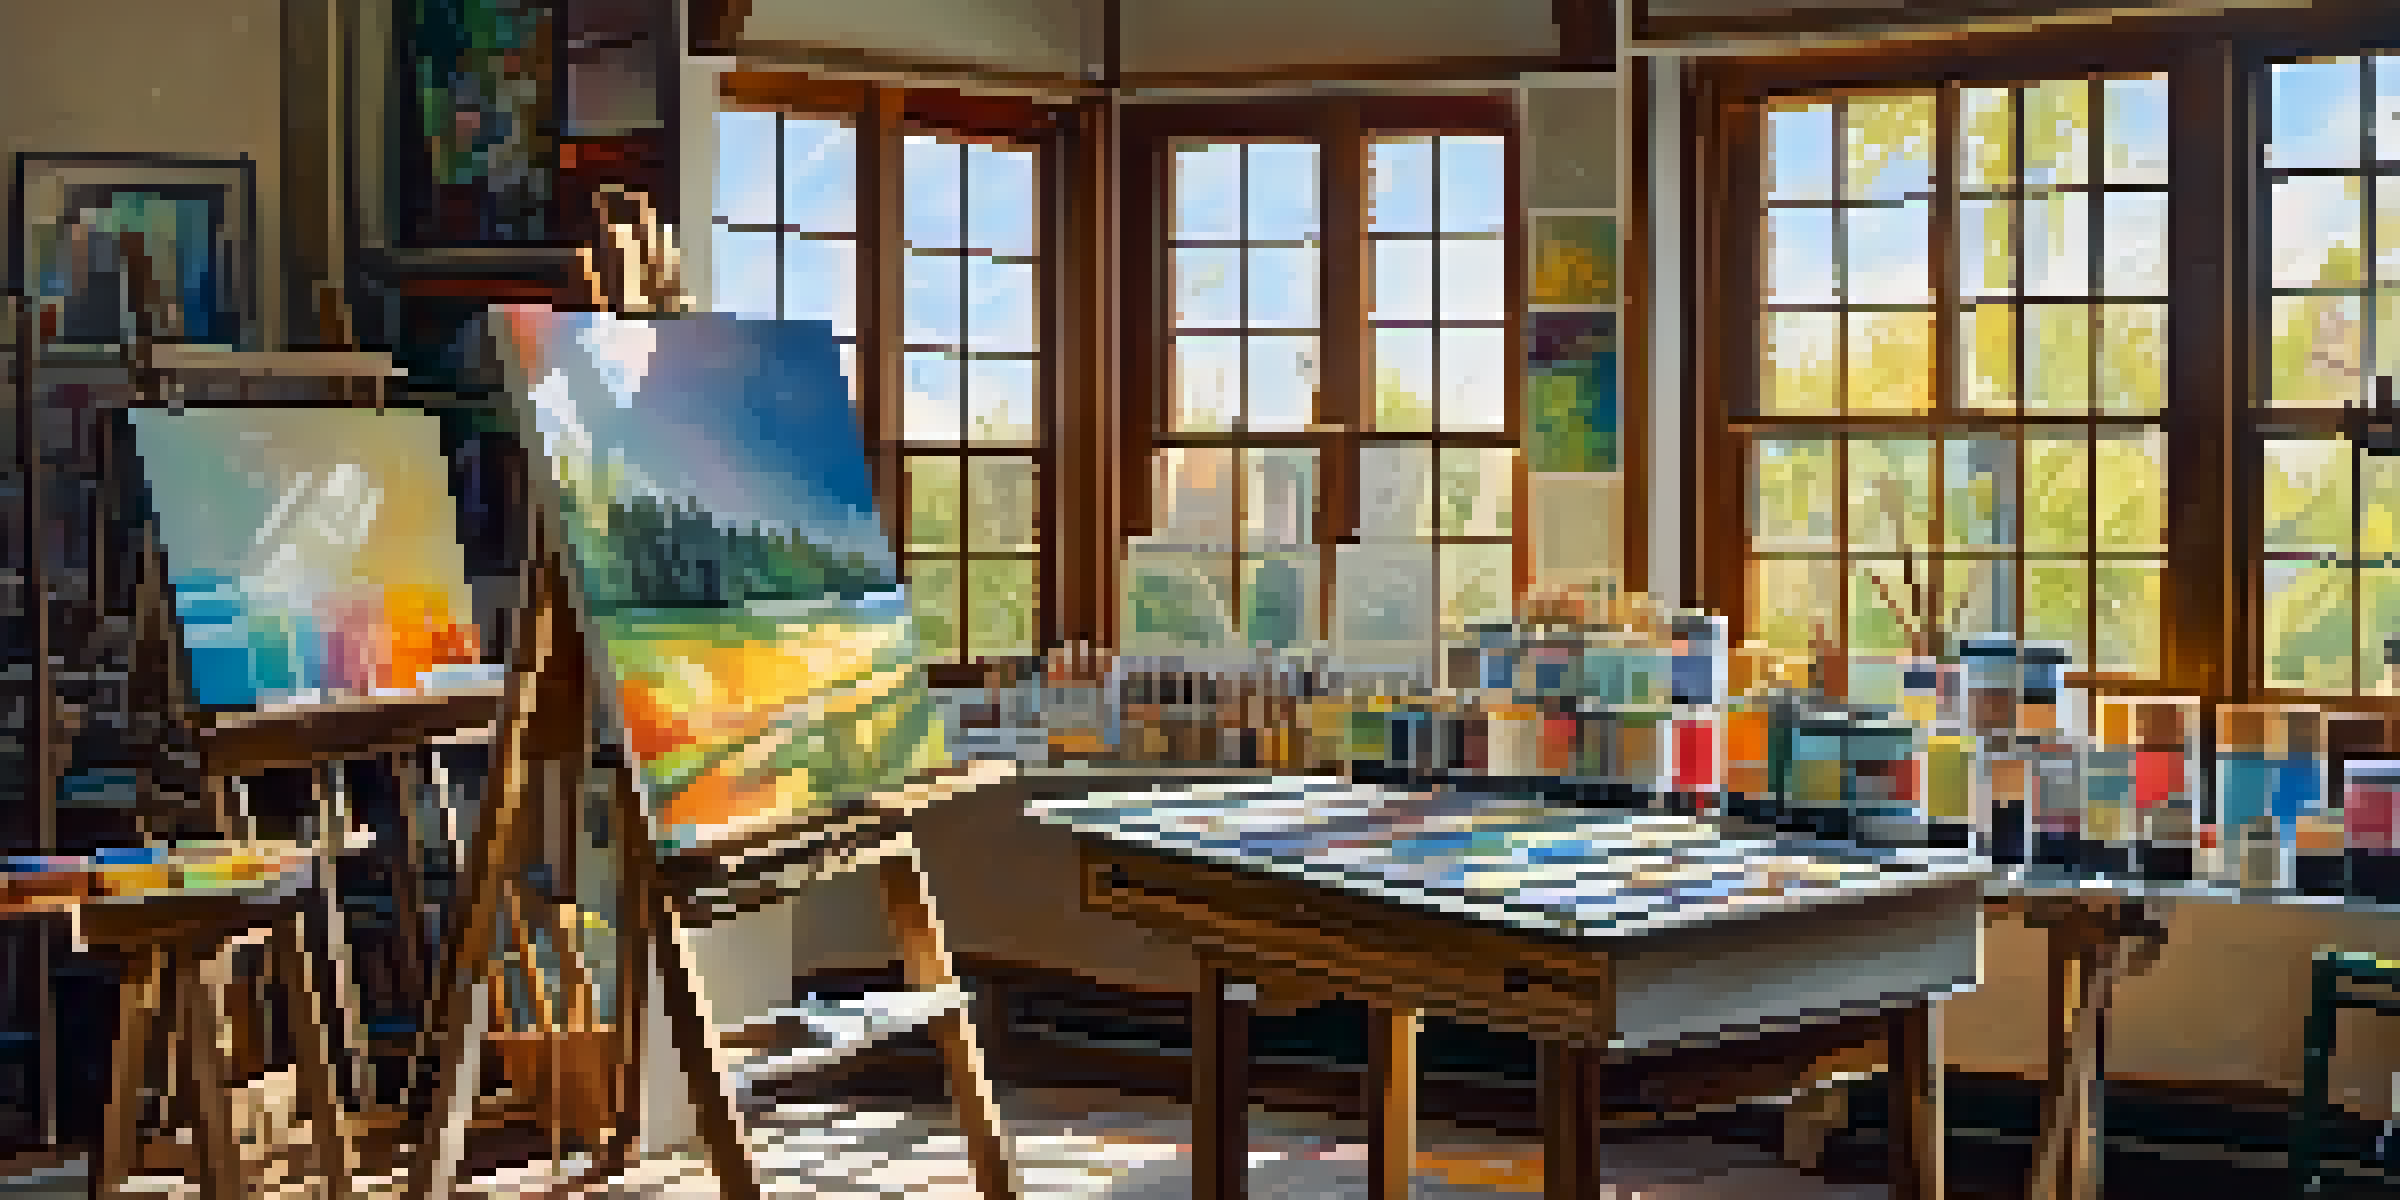
Gathering Your Tools and Materials for Success
Before diving into painting, it’s essential to gather all the necessary tools and materials. Basic supplies include paint, brushes, rollers, painter's tape, and drop cloths. Having everything on hand will save you time and help avoid unnecessary trips to the store.
Every artist was first an amateur.
Consider investing in quality brushes and rollers, as they can significantly impact the final finish of your walls. A good paint tray and a sturdy ladder will also make the job easier. Don’t forget safety gear like goggles and masks, especially if you're working with strong paints.
Once you have everything ready, you’ll feel more confident to tackle the next steps. It’s like preparing for a big game; having the right equipment makes all the difference!
Choosing the Right Paint for Your Project
Selecting the right paint can transform your walls and the overall feel of a room. Start by deciding between water-based and oil-based paints; water-based paints are easier to clean up and dry faster, making them a popular choice for DIYers.
Next, consider the finish—matte, satin, semi-gloss, or gloss—depending on the look you want to achieve. Matte finishes hide imperfections, while glossier finishes are more durable and easier to clean, making them ideal for kitchens and bathrooms.
Gather Essential Tools and Materials
Collecting all necessary supplies before starting ensures a smoother painting process.
Finally, don’t forget about color! Test a few samples on your walls to see how they look in different lighting. Remember, paint is your canvas, so choose something that reflects your style and personality!
Preparing the Room: Clearing Space for Painting
Before you start painting, it’s essential to prep your room. Move furniture away from the walls, covering it with drop cloths to protect it from paint splatters. This not only keeps your belongings safe but also gives you room to maneuver easily.
The details are not the details. They make the design.
Additionally, remove any wall decorations, light switch covers, and outlet covers. This makes your painting process smoother and ensures that every corner gets the attention it needs, without having to work around obstacles.
Think of it as creating a blank canvas; the less clutter around you, the more focused you can be on achieving that perfect finish!
Cleaning and Repairing Your Walls for a Smooth Finish
Before putting brush to wall, take the time to clean and repair any imperfections. Dust, dirt, and grease can prevent paint from adhering properly. Use a mild detergent and water to wipe down surfaces, ensuring they’re clean and ready.
Next, inspect your walls for cracks, holes, or peeling paint. Fill any gaps with spackling paste or caulk, then sand the areas smooth once dry. This step is crucial because a smooth surface means a more professional-looking finish.
Prep the Room for Painting Success
Clearing space and protecting your belongings creates a focused environment for achieving a perfect finish.
Think of your walls as a blank slate; the cleaner and smoother they are, the better your paint will adhere and look!
Taping and Protecting Areas Not to Be Painted
Using painter's tape is a game-changer when it comes to achieving clean lines. Apply tape along the edges of trim, windows, and ceilings to ensure that you don’t accidentally paint over areas you want to keep pristine. This small step can make a big difference in the final look of your room.
Be sure to press down firmly on the tape to prevent any paint from seeping underneath. If you're painting near textured surfaces, consider using a tape specifically designed for uneven surfaces for the best result.
Taking the time to tape and protect your spaces is like laying the groundwork for a masterpiece; it sets you up for success in your painting journey!
Priming Your Walls: The Key to a Flawless Finish
Priming your walls is a crucial step that shouldn’t be overlooked. Primer helps create a uniform surface, especially if you’re painting over a darker color or a surface that has never been painted before. It also enhances paint adhesion, which means a longer-lasting finish.
Choose a primer that suits your surface—whether it’s drywall, wood, or metal. Apply it using a roller for larger areas and a brush for corners and edges. Don’t forget to let it dry thoroughly before moving on to the actual painting.
Prime for a Flawless Paint Finish
Using primer enhances paint adhesion and ensures a more professional-looking result.
Think of primer as the foundation of a house; a strong foundation ensures a sturdy and beautiful structure, and the same goes for your walls!
The Final Touch: Painting Your Walls with Care
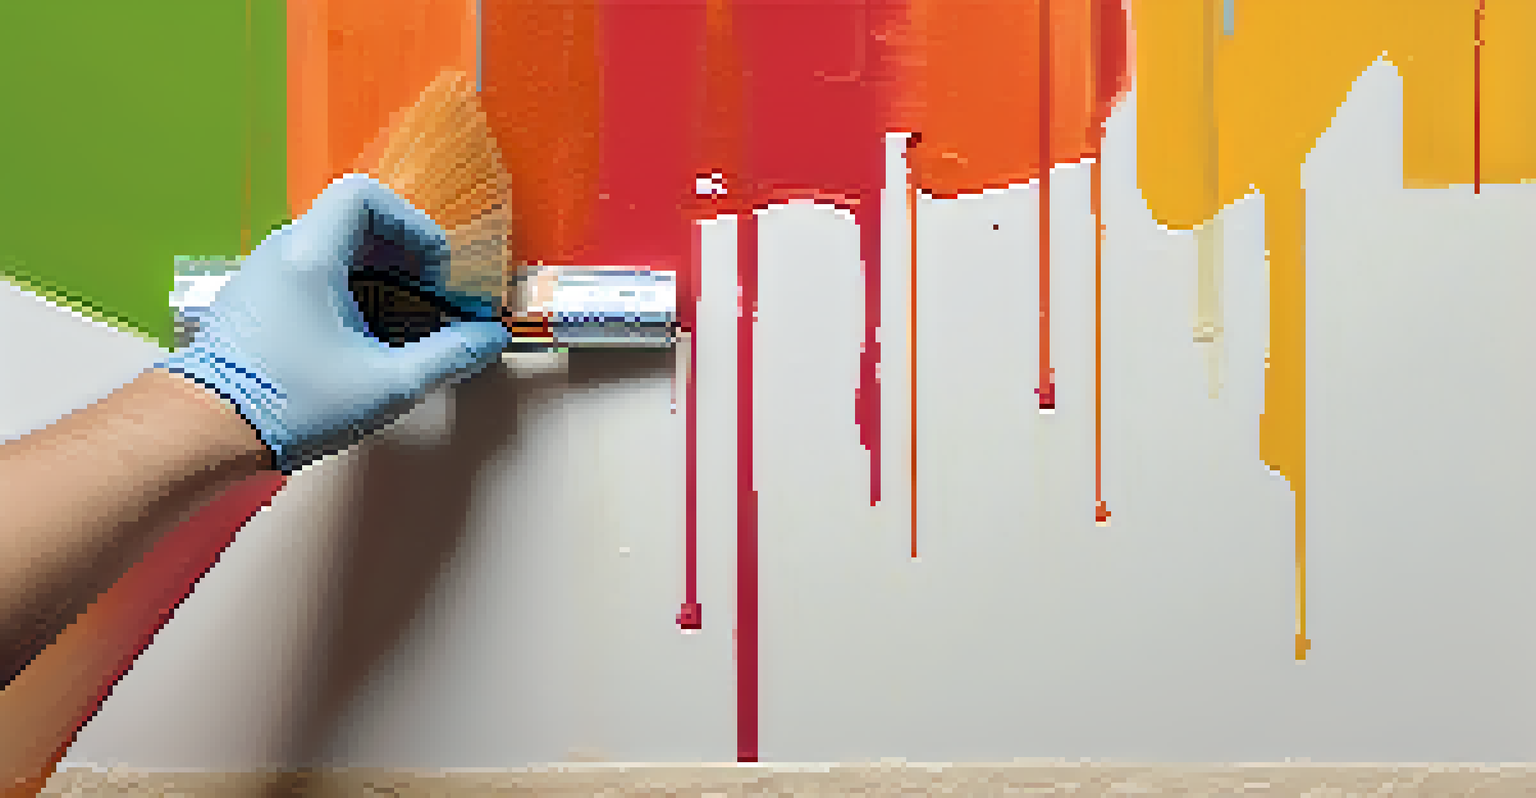
Now it’s time for the fun part—painting! Start by cutting in around the edges with a brush, then use a roller for the larger areas. This technique allows you to achieve even coverage and avoid those dreaded roller marks.
When applying the paint, use long, even strokes and avoid overloading your brush or roller. It’s better to apply several thin coats rather than one thick coat. This not only provides better coverage but also helps to prevent drips and runs.

Enjoy the process and watch your space transform! Just like an artist gets lost in their work, allow yourself to immerse in the joy of bringing your vision to life.
Finishing Up: Clean-Up and Final Inspection
After the painting is complete, it’s time to clean up your space. Carefully remove the painter's tape while the paint is still slightly wet for crisp lines. This is a satisfying moment, as you’ll see your hard work pay off in real-time.
Make sure to clean your brushes and rollers according to the paint type you used. Water-based paints can be cleaned with soap and water, while oil-based paints require solvents. Properly cleaning your tools will extend their life for future projects.
Finally, take a step back and admire your work! A little clean-up goes a long way in showcasing your newly transformed walls, and that sense of accomplishment is the cherry on top of your painting adventure.