Exploring Gesso: Preparing Canvas for Oil and Acrylic Painting
What is Gesso and Why Use It?
Gesso is a primer that prepares your canvas for painting, providing a smooth, even surface. Think of it as the foundation of a house; without a solid base, everything else might crumble. It not only enhances the adhesion of paint but also helps to prevent the absorption of oil or acrylic into the canvas, which can alter colors and textures.
Art is not freedom from discipline, but disciplined freedom.
Originally made from chalk, gypsum, or even animal glue, modern gesso often contains acrylic polymer emulsion. This makes it versatile and suitable for both oil and acrylic paints. By applying gesso, you're essentially setting the stage for your artwork, creating a reliable barrier between your paint and canvas.
Using gesso is especially important for artists who want their colors to pop and maintain their vibrancy. A well-gessoed canvas can make a significant difference in the final look of your artwork, allowing for smoother brush strokes and better color application.
Choosing the Right Gesso for Your Project
Gesso comes in various formulations, including traditional white, black, and clear versions. The choice depends on the effect you're aiming for; for instance, black gesso can create dramatic contrasts in your artwork. Each type can influence the final piece, so consider what resonates with your artistic vision.
Some artists prefer to use a mixture of different types of gesso, combining them for unique textures and finishes. Experimenting with these options can lead to exciting discoveries in your painting process. It's all about finding what works best for your style and the specific project at hand.
Gesso Prepares Your Canvas
Gesso acts as a primer that creates a smooth surface, enhancing paint adhesion and preventing absorption.
When selecting gesso, look for products that are non-toxic and suitable for your chosen medium. Always check the label to ensure that it aligns with your artistic needs, and don't hesitate to ask for recommendations from fellow artists or your local art supply store.
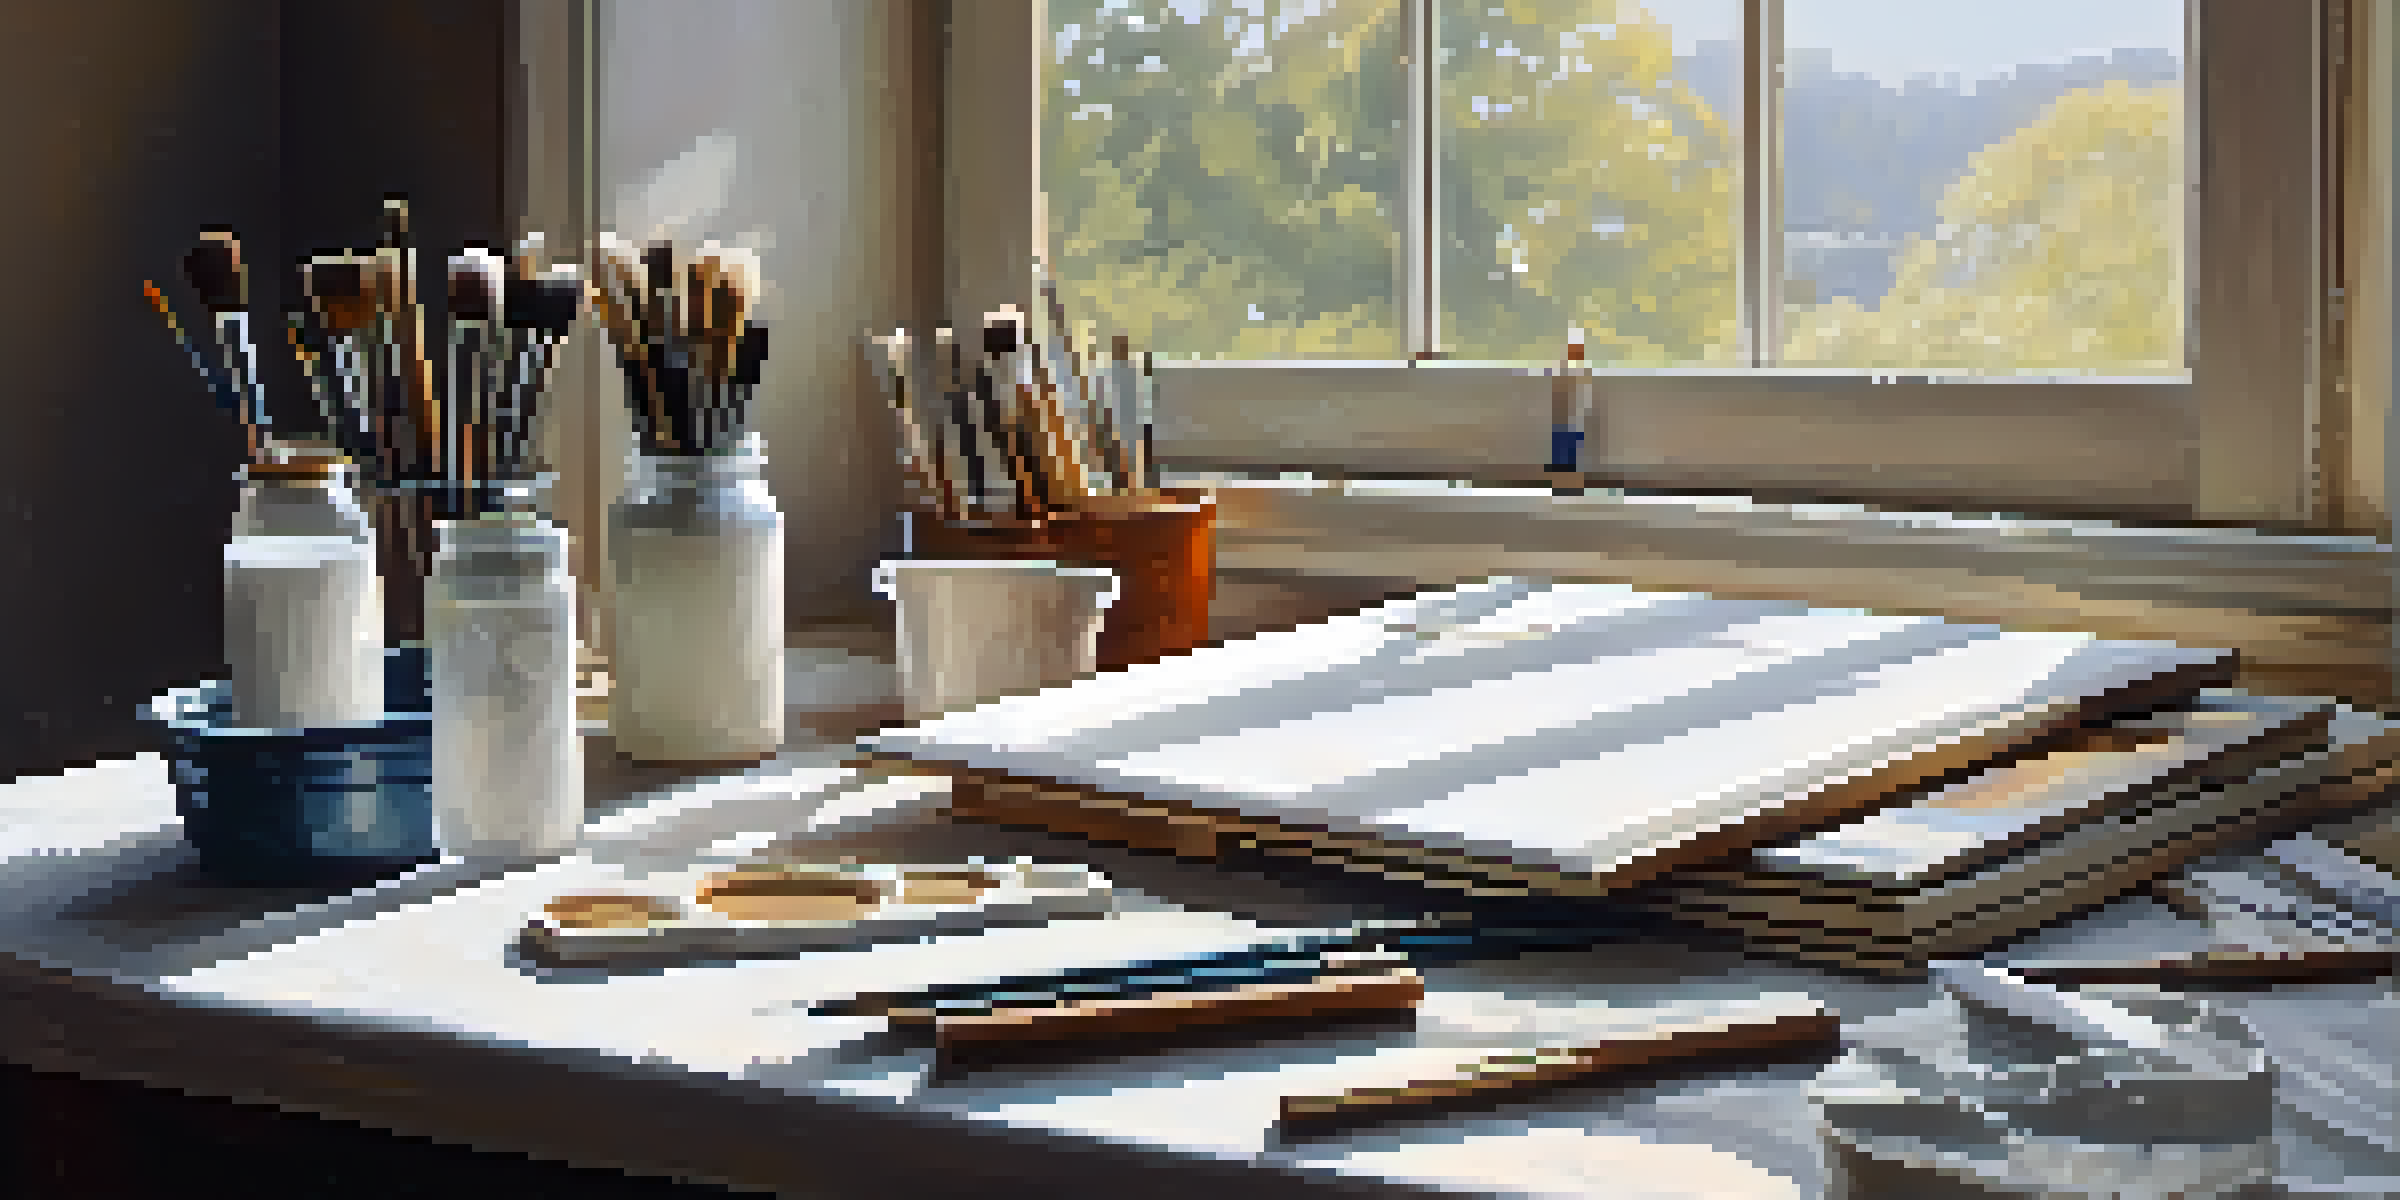
Preparing Your Workspace for Gesso Application
Before diving into gesso application, set up a clean, well-lit workspace. This not only helps you see the true colors of your gesso but also keeps your area organized and free from distractions. Lay down some newspaper or a drop cloth to catch any spills, ensuring your space remains tidy.
Every artist dips his brush in his own soul, and paints his own nature into his pictures.
Gather your tools, which typically include a brush or palette knife, a container for your gesso, and of course, your canvas. Having everything within reach will make the process smoother and more enjoyable. Remember, a little preparation goes a long way in achieving a professional finish.
Lastly, consider the temperature and humidity of your workspace. Ideal conditions can affect how gesso dries and adheres to the canvas. For instance, high humidity can prolong drying times, while extreme heat can cause it to dry too quickly, leading to cracks.
How to Properly Apply Gesso to Your Canvas
When applying gesso, start by shaking or stirring the container to ensure it's well-mixed. Using a wide brush or a palette knife, apply an even layer of gesso across the canvas, working in smooth strokes. It's essential to cover the entire surface, including the edges, to protect the canvas from paint absorption.
For the best results, apply multiple thin layers instead of one thick layer. Allow each coat to dry completely before adding the next. This helps create a more durable surface and reduces the risk of cracking as the gesso dries.
Choose the Right Gesso Type
Selecting the appropriate type of gesso, whether white, black, or clear, can significantly influence the final look of your artwork.
After the final layer, gently sand the surface with fine-grit sandpaper if you prefer a smoother finish. This step is optional but can help achieve a more refined surface for detailed work. Once satisfied, your canvas is ready to embrace your creativity!
Letting Gesso Dry: Timing and Techniques
Drying time for gesso can vary based on factors like the thickness of the application and the environmental conditions. On average, a layer of gesso may take anywhere from one to four hours to dry completely. Patience is key here; rushing can lead to uneven surfaces and compromised results.
To speed up the drying process, consider using a fan or a hairdryer on a low setting. Just be cautious not to overheat the gesso, as this can cause bubbling or cracking. It's always best to check for dryness by lightly touching the surface before proceeding to the next layer.
If you're working in a humid environment, allow for extra drying time. Alternatively, you can use a dehumidifier to create a more controlled setting. Understanding the drying process is crucial to mastering your canvas preparation.
Final Steps Before You Begin Painting
Once your gesso is fully dry, inspect the surface for any imperfections or areas that may need a touch-up. A quick sanding can help smooth out any uneven spots, ensuring your canvas is primed for the masterpiece ahead. This final inspection is crucial for setting the right foundation for your painting.
If you used multiple layers of gesso, consider applying a light wash of paint or a diluted gesso layer for a more uniform appearance. This can enhance the vibrancy of your colors and give your artwork a cohesive look. Think of it as a warm-up before the big performance.
Avoid Common Gesso Mistakes
To achieve the best results, avoid applying gesso too thickly and ensure that you cover all edges of the canvas.
Finally, make sure to clean your brushes and tools thoroughly after gesso application. Dried gesso can be tough to remove, so a quick wash with soap and water will save you from a messy cleanup later. With your canvas prepared and your tools clean, you're all set to unleash your creativity!
Common Mistakes to Avoid with Gesso
One common mistake is applying gesso too thickly. While it might be tempting to rush the process, thick layers can crack and create an uneven texture. Instead, opt for several thin layers, allowing each one to dry before adding the next. This not only helps with adhesion but also ensures a more polished finish.
Another pitfall is neglecting to cover the edges of your canvas. Leaving them unprimed can lead to paint absorption, affecting the overall look of your artwork. Remember, every part of your canvas deserves attention, so make sure to extend your gesso application to the sides.

Lastly, don't forget to read the instructions on your gesso container. Different products may have specific recommendations for application and drying times. Following those guidelines will help you achieve the best results and avoid unnecessary frustrations.