Techniques for Creating Realistic Skin Tones in Portraits
Understanding the Color Wheel and Skin Undertones
To create realistic skin tones, it's essential to understand the color wheel. Skin tones are often categorized into warm, cool, and neutral undertones, which can affect the overall look of your portrait. For example, warm undertones might have hints of peach or golden hues, while cool undertones may lean towards pink or blue shades.
Color is the keyboard, the eyes are the harmonies, the soul is the piano with many strings.
By identifying your subject's undertone, you can choose colors that enhance their natural beauty. This understanding also helps in mixing paints or selecting digital colors, leading to more lifelike results. Think of it as finding the right foundation shade that makes someone's complexion glow rather than appear washed out.
Ultimately, knowing how to navigate the color wheel will empower you to create a wider range of realistic skin tones. This foundational knowledge sets the stage for the techniques you'll use in your portraits, making every brushstroke or digital click more intentional.
Mixing Colors for Realistic Skin Tones
Once you understand undertones, the next step is mixing colors effectively. Start with a base color that reflects the main skin tone, and then gradually add other colors to create depth and dimension. Using a mix of white, yellow, red, and brown can help you achieve a variety of skin tones, from light to dark.
A practical tip is to create a palette that includes a range of shades, allowing you to blend and adjust as needed. For instance, adding a touch of blue can cool down an overly warm mix, providing a more balanced appearance. It's like cooking—sometimes a pinch of salt is all it takes to enhance the flavor.
Understanding Skin Undertones
Identifying warm, cool, and neutral undertones helps in selecting colors that enhance natural beauty in portraits.
Don't be afraid to experiment! The beauty of painting or digital art lies in trial and error. Keep adjusting your colors until you feel satisfied with the results, and remember that real skin isn’t uniform; it has variations that you should try to capture.
Lighting: Its Role in Perceiving Skin Tones
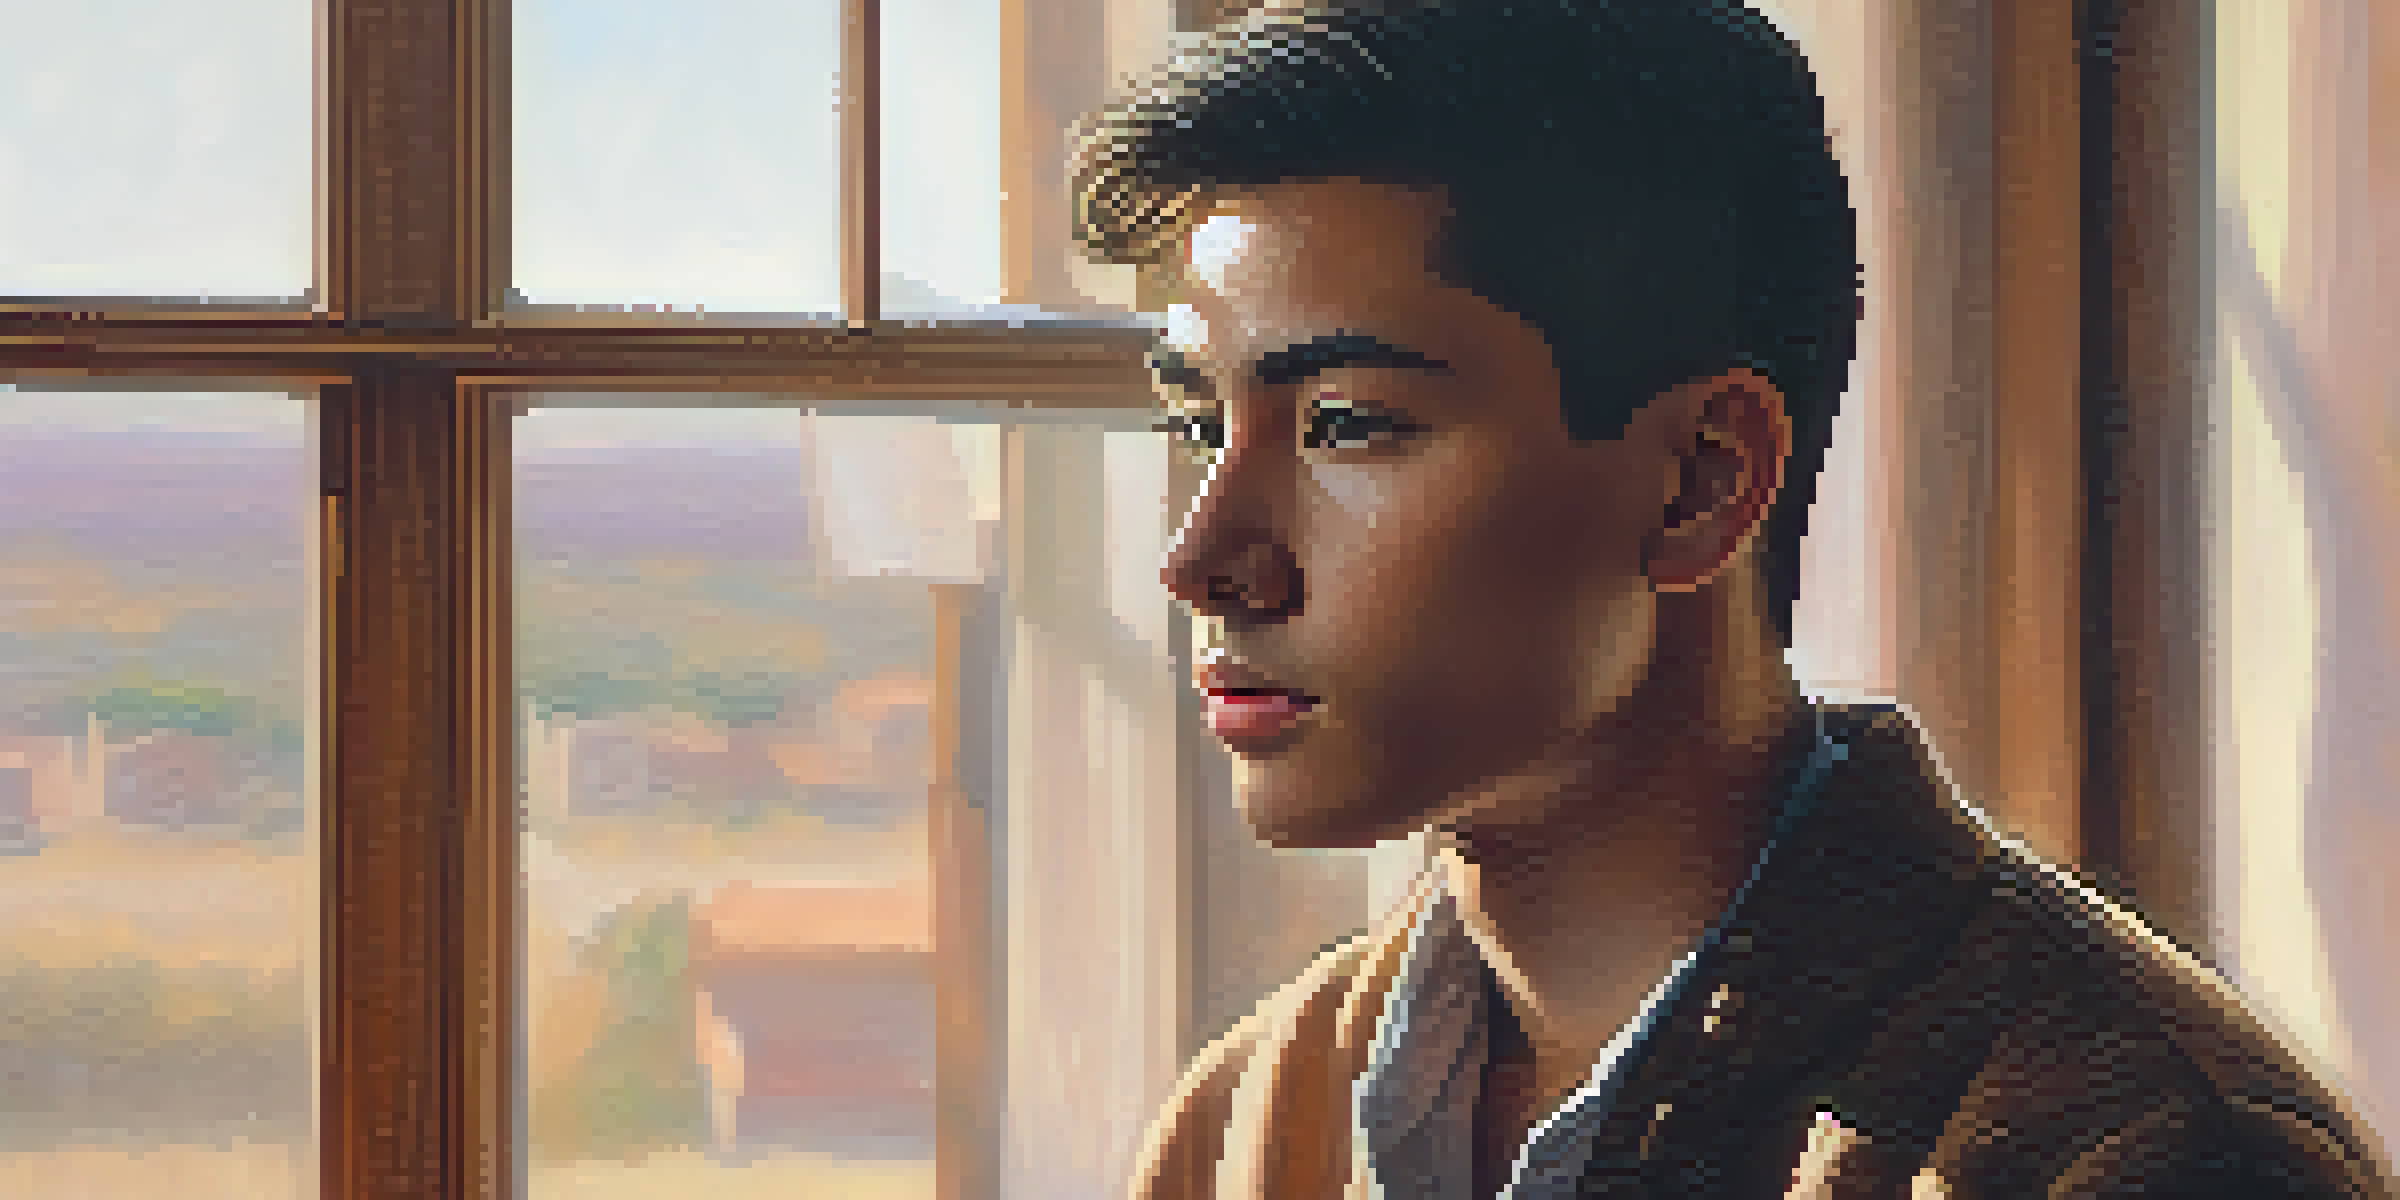
Lighting plays a crucial role in how skin tones are perceived. Natural light, for instance, casts a soft glow that can enhance the richness of skin tones, while harsh artificial lights can wash them out. When painting or photographing, consider the light source and its angle for the best effect.
Art is not freedom from discipline, but disciplined freedom.
Positioning your subject in front of a window or using softbox lights can help achieve that beautiful, even illumination. Shadows and highlights are just as important; they can add depth to the skin and make it look more three-dimensional. Think of it like sculpting—light brings out the contours.
Ultimately, the goal is to replicate how skin tones appear under different lighting conditions. By practicing in various environments, you'll gain a better understanding of how light affects color, helping you create portraits that feel alive and authentic.
Using Shadows and Highlights to Enhance Realism
To create lifelike skin tones, it's important to understand the role of shadows and highlights. Shadows can add depth, while highlights can bring attention to certain features, making the portrait feel more dynamic. For example, applying a subtle shadow under the cheekbones can create a more contoured look.
When working with highlights, think about where the light naturally hits the skin. Areas like the forehead, nose, and cheekbones often catch the most light. By strategically placing highlights, you can emphasize the natural structure of the face, much like how the sun accentuates features on a bright day.
Mixing Colors for Realism
Effective color mixing involves layering base shades and adjustments to create depth and authenticity in skin tones.
Incorporating these elements into your artwork will enhance the overall realism. It’s all about balance—too much shadow can make the skin look dull, while too much highlight can appear unnatural. Finding that sweet spot will take practice, but the payoff is worth it.
Layering Techniques for Depth and Dimension
Layering is a powerful technique for achieving realistic skin tones. Instead of applying a single, flat color, try building up layers of various shades to create depth. This method mimics how skin appears in real life, with variations in tone and texture.
Start with a base layer and gradually add translucent layers of color. For instance, a light wash of red or orange can simulate warmth, while a thin layer of green can neutralize overly warm areas. Think of it as adding a filter to a photo—each layer contributes to the final image.
This technique allows for greater control over the final result, enabling you to adjust the intensity of colors as needed. With patience and practice, layering can transform your portraits, giving them a richness and authenticity that captures the viewer's eye.
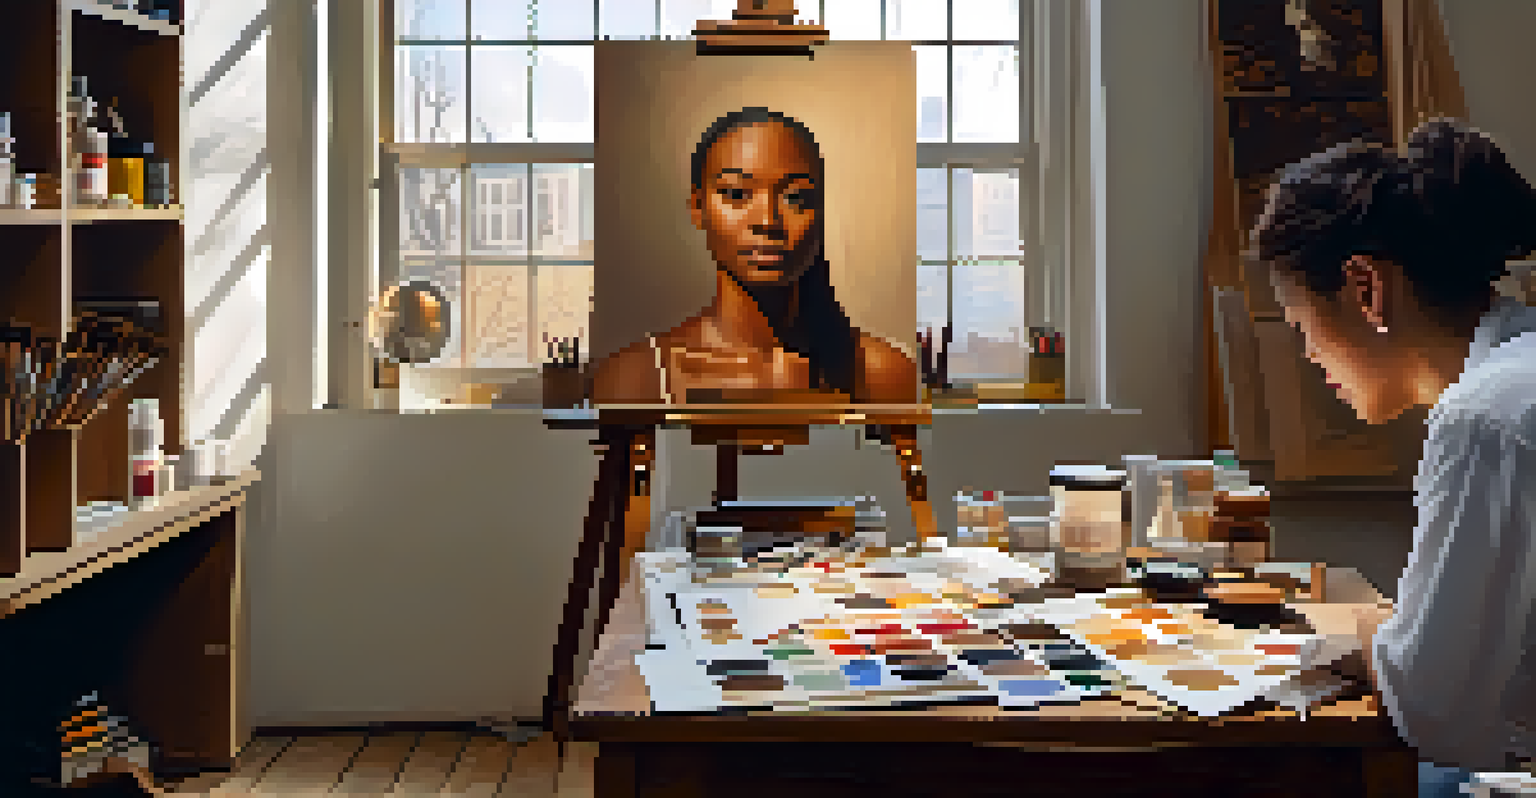
Incorporating Real-Life References for Accuracy
Using real-life references is invaluable when creating realistic skin tones. Whether it's photographs or observing people in person, reference materials can guide your color choices and techniques. They provide a visual benchmark for what natural skin tones look like in different lighting and settings.
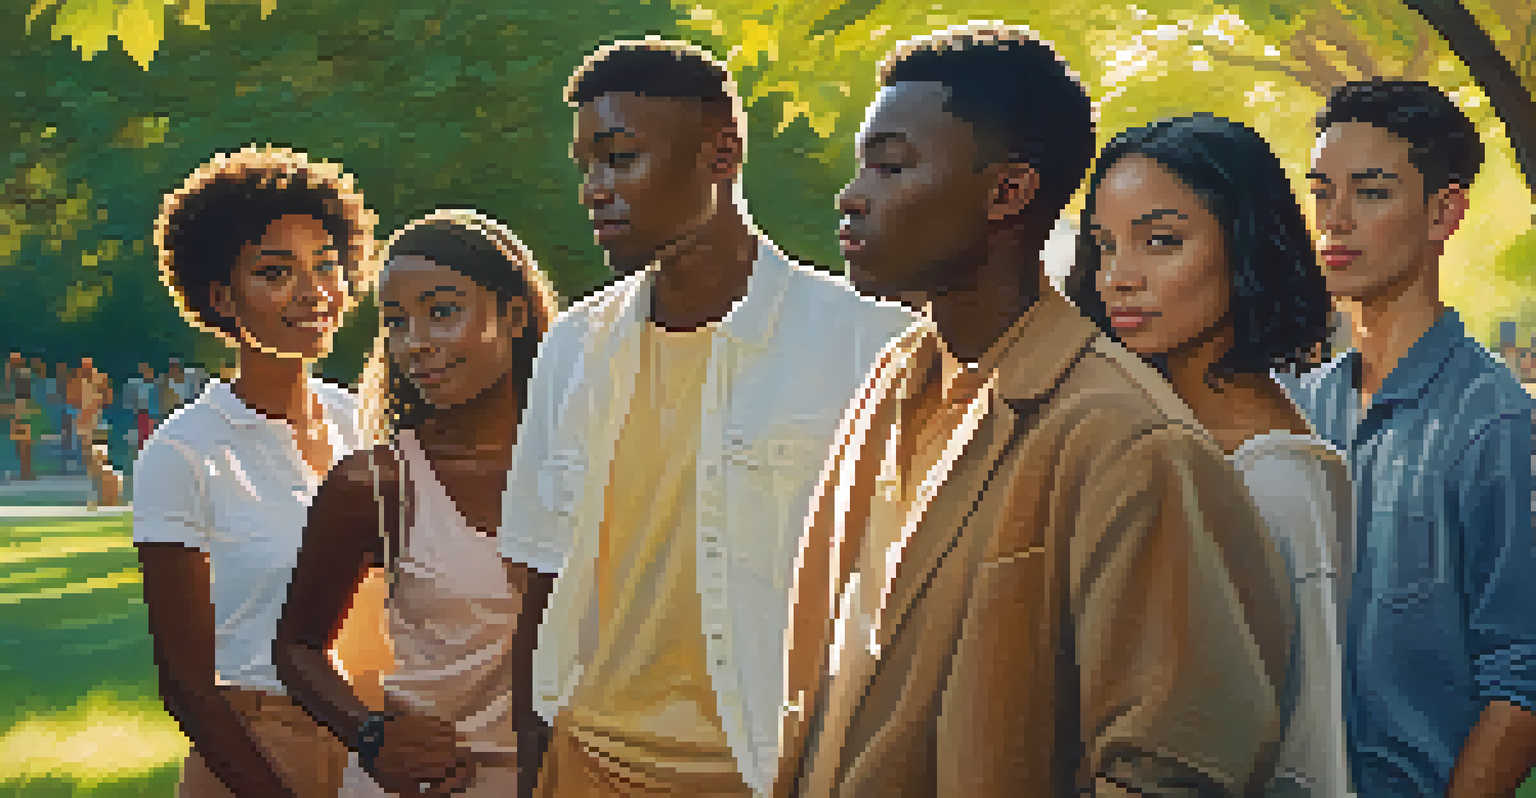
When studying references, pay attention to the unique qualities of each person's skin. Notice how factors like age, ethnicity, and environment influence skin tone. This diversity can inspire you to experiment with a wider range of colors in your own work, enhancing your artistic repertoire.
Lighting Affects Perception
The way lighting interacts with skin tones can significantly alter their appearance, making it essential to consider light sources during creation.
Additionally, analyzing the nuances in skin texture and imperfections can lead to more authentic portraits. Everyone has unique features, and capturing these details will make your artwork resonate more with viewers, creating a deeper emotional connection.
Practicing with Different Mediums for Versatility
Experimenting with various mediums can help you discover new techniques for creating realistic skin tones. Whether you're using oil paints, acrylics, watercolors, or digital tools, each medium offers unique properties that can influence your color mixing and application methods. For example, watercolors can provide a soft, translucent effect that mimics the delicacy of skin.
By practicing with different materials, you'll also learn how to manipulate colors effectively. Oil paints allow for blending and layering, while digital tools provide options for adjusting hues and saturation easily. This versatility can be a game-changer, as it gives you more ways to express your artistic vision.
Ultimately, the more you practice with different techniques and mediums, the more adept you'll become at capturing realistic skin tones. Embrace the learning process, and don’t hesitate to step out of your comfort zone; you might discover a new favorite way to create.