The Art of Glazing: Enhancing Depth in Oil Paintings
Understanding Glazing in Oil Painting Techniques
Glazing is a technique in oil painting where thin, transparent layers of paint are applied over a dry base layer. This method allows artists to create depth and luminosity that simply can't be achieved with thick applications of paint. By controlling the transparency and color of each glaze, painters can manipulate the overall appearance of their artwork, adding richness and complexity to their compositions.
Color is the keyboard, the eyes are the harmonies, the soul is the piano with many strings.
Imagine looking through colored glass; the way light interacts with each layer changes the color you perceive. Similarly, each glaze can transform the underlying hues, enhancing or muting them. This technique not only adds visual interest but also allows for a unique interplay between colors that can create a sense of movement and life within the painting.
Understanding how to use glazing effectively can elevate your paintings from flat to dynamic. As you practice, you'll discover how to balance transparency with opacity, and how to layer glazes to achieve the desired effect. It's a skill that takes time but is incredibly rewarding as it opens up new possibilities for expression.
Choosing the Right Materials for Glazing
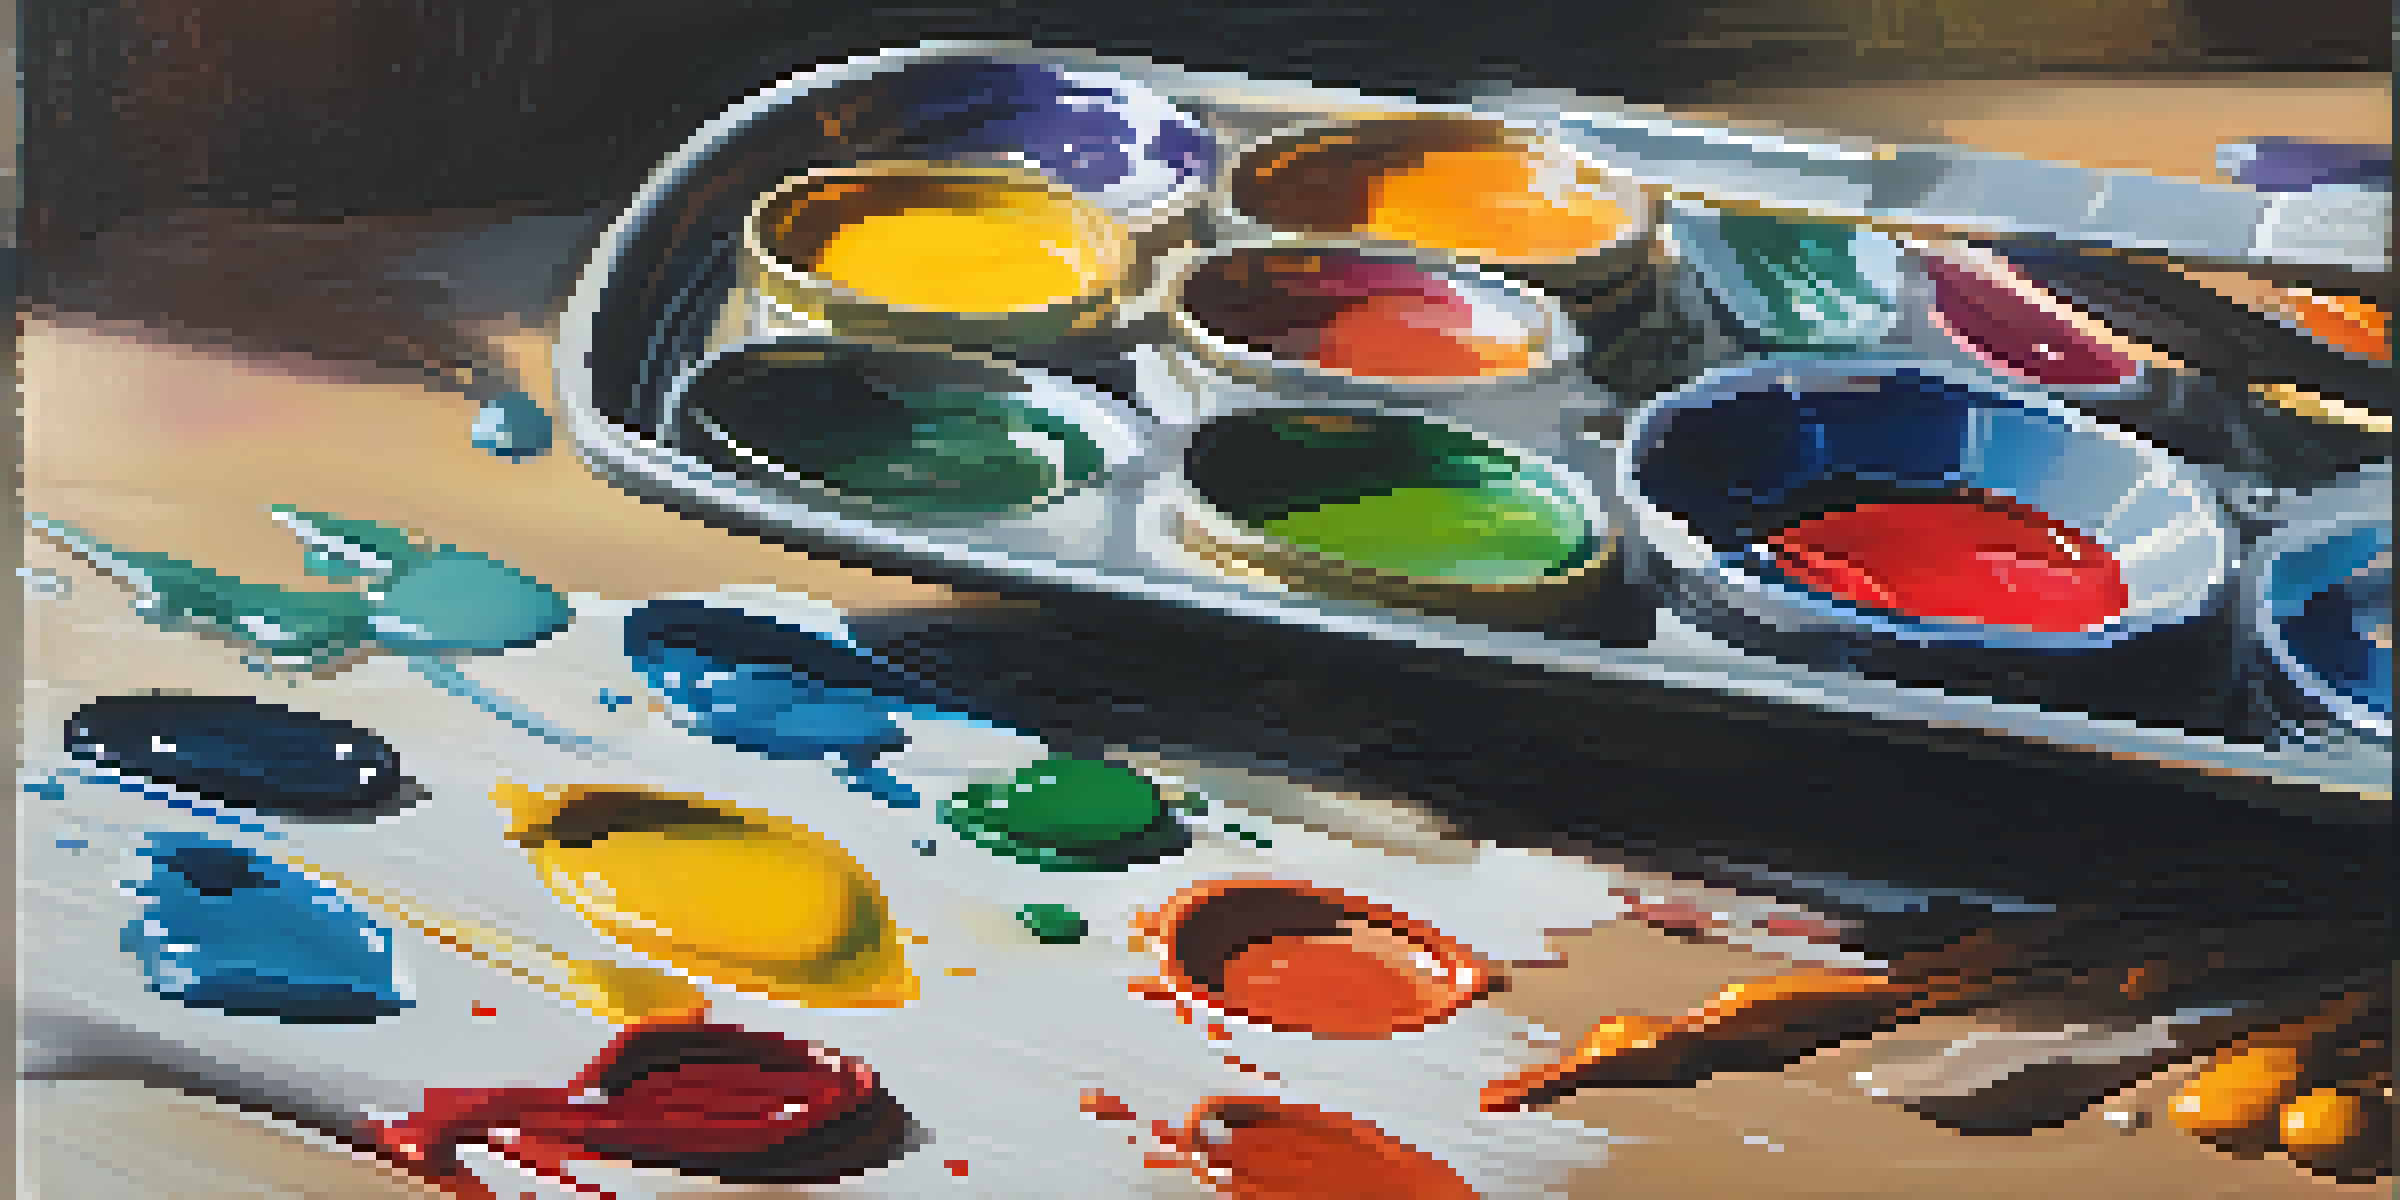
The success of a glazing technique largely depends on the materials you choose. High-quality oil paints with rich pigments will yield the best results, allowing for vibrant glazes that maintain their intensity. Additionally, selecting the right medium is crucial; mediums like linseed oil or stand oil can enhance flow and transparency, making it easier to apply thin layers smoothly.

It's also important to consider your brushes and tools. Soft, flat brushes work well for glazing, as they help spread the paint evenly without disturbing the layers underneath. Some artists even use sponge brushes or their fingers to create unique textures, adding even more depth to their work.
Glazing Adds Depth to Paintings
Using thin, transparent layers of paint allows artists to create a rich, dynamic appearance that enhances the overall composition.
Finally, don't overlook the surface you're painting on. A smooth canvas or panel can make a significant difference in how glazes adhere and look. Experimenting with different surfaces can lead to surprising results and inspire new techniques in your glazing practice.
The Process of Applying Glazes
Applying glazes is both an art and a science. Start by ensuring your base layer is completely dry; otherwise, the glazes may mix with the underlying paint, muddying your colors. Once dry, you can begin by mixing a small amount of paint with your chosen medium to create a transparent mixture. It's always easier to add more paint than to remove it, so start with a light touch.
Art is not freedom from discipline, but disciplined freedom.
When you're ready to apply, use a gentle, sweeping motion to layer the glaze over the dry paint. Allow the glaze to flow and settle naturally; you can always add more layers later. Remember, patience is key here. Each layer should be dry before you add the next, allowing the previous glaze to influence the next one without blending unwanted colors.
As you work, take the time to step back and assess your painting from a distance. This perspective can help you see how the glazes interact and whether you need to adjust the color or depth. With each layer, you’ll find a beautiful transformation occurring, revealing the depth and complexity that glazing can provide.
Color Theory and Glazing: Harmonizing Hues
Color theory plays a vital role in successful glazing. Understanding how colors interact—such as complementary colors enhancing each other or analogous colors creating harmony—can guide your glazing choices. By thoughtfully selecting your glazes based on color theory, you can achieve a more cohesive and visually appealing painting.
For instance, if you have a warm base layer, applying a cool glaze can create a striking contrast that draws the viewer’s eye. Conversely, layering warm glazes over cooler tones can create a sense of warmth and light, making the painting feel inviting. This intentional use of color relationships can elevate your artwork significantly.
Choose Quality Materials for Success
High-quality oil paints and appropriate mediums are crucial for achieving vibrant and smooth glazes in your artwork.
Experimenting with color combinations and glazing techniques can lead to discoveries in your work. Keep a color wheel handy and refer to it as you mix glazes, allowing you to make informed decisions that will enhance the depth and richness of your paintings.
Common Mistakes to Avoid When Glazing
Like any technique, there are common pitfalls artists encounter with glazing. One frequent mistake is applying glazes too thickly, which can obscure the layers beneath and lead to a dull appearance. Remember, the beauty of glazing lies in its transparency; a little goes a long way. Starting with a thin layer will help you gauge the effect before committing to a heavier application.
Another mistake is neglecting to let layers dry before adding new ones. This can result in unwanted blending and chaos in your colors. Patience is essential; take the time to ensure each layer is completely dry before moving on. This not only preserves the integrity of your work but also allows you to see the full effect of each glaze.
Lastly, be cautious of relying too heavily on glazes to fix problems in your painting. While glazing can help enhance certain areas, it’s not a substitute for strong foundational skills. Focus on building good painting habits and use glazing as a tool to enhance, not as a crutch to lean on.
Exploring Different Glazing Techniques
Glazing isn't a one-size-fits-all technique; there are various methods you can explore to achieve different effects. For example, the 'wet-on-wet' glazing technique involves applying a glaze to a still-wet layer of paint, which can create soft edges and a more blended appearance. This method is perfect for atmospheric effects or achieving a softer look in landscapes.
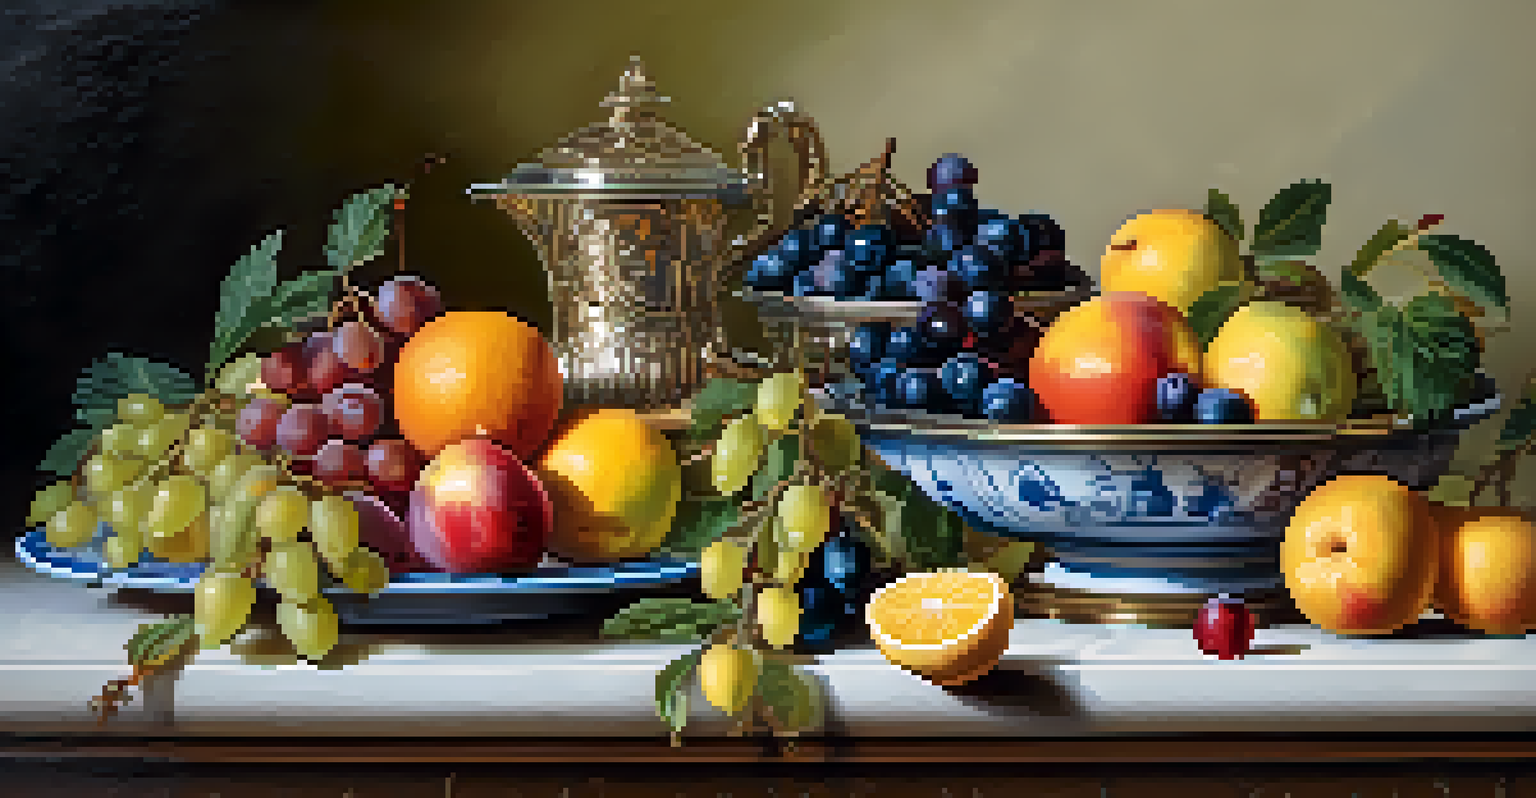
On the other hand, 'dry glazing' involves applying a glaze over a thoroughly dried base layer. This technique allows for sharper edges and more defined details. It’s great for portraits or still lifes where you want to maintain clarity while still adding depth and richness.
Patience is Key in Glazing Process
Allowing each layer to dry completely before adding more is essential to maintain color integrity and achieve the desired depth.
Experimenting with these different glazing techniques can open up a world of creative possibilities. Each method offers unique results, allowing you to discover what works best for your artistic style and vision.
Inspiration from Masters of Glazing
Looking to the masters can provide invaluable inspiration for your glazing practice. Artists like Rembrandt and Vermeer are renowned for their exquisite glazing techniques, which contributed to the depth and luminosity of their works. Analyzing their paintings can reveal how they layered glazes to achieve a stunning sense of light and shadow.
Take time to study their techniques; consider how they approached color, transparency, and layering. For instance, Vermeer often used glazes to create warmth in skin tones, while Rembrandt's use of glazing added a dramatic contrast to his portraits. Understanding their methods can inform your own approach and inspire your creativity.
Don't hesitate to replicate these techniques in your practice. Try to mimic the layered effects of your favorite masters, then adapt and personalize those techniques to suit your style. This exploration can lead to a deeper understanding of glazing and help you develop your unique artistic voice.