Understanding Acrylic Pouring: Techniques for Unique Effects
What is Acrylic Pouring and Why It’s Popular
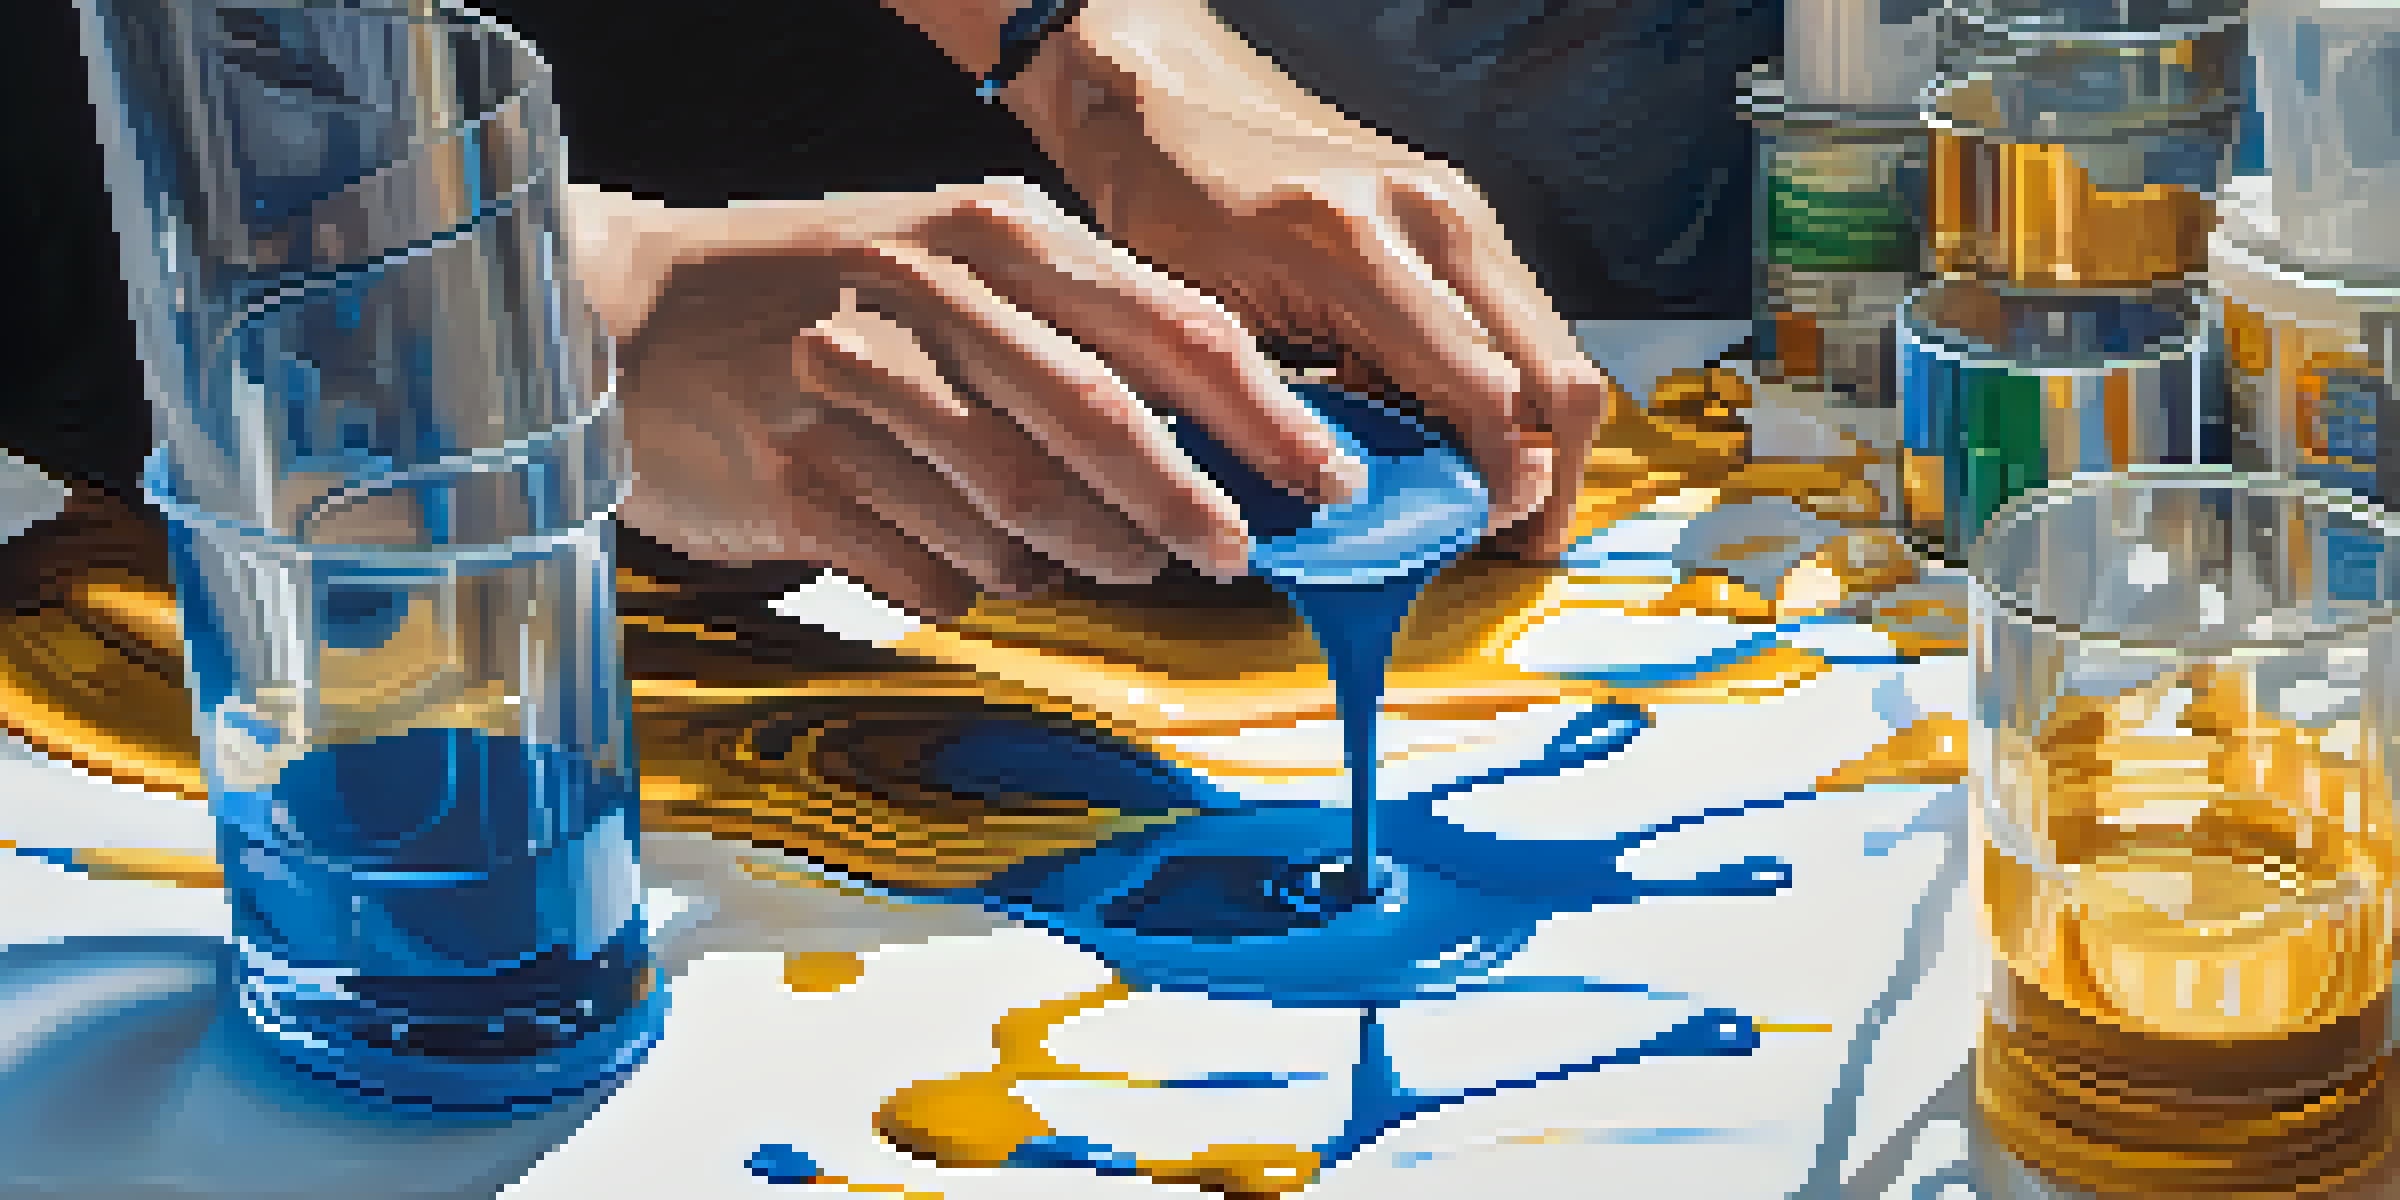
Acrylic pouring is a fascinating painting technique that allows artists to create stunning, abstract designs using fluid acrylic paints. It’s become increasingly popular due to its accessibility—anyone can try it, regardless of experience. The beauty of acrylic pouring lies in its unpredictability; you never really know how the colors will blend and flow until you pour them onto the canvas.
Every artist dips his brush in his own soul, and paints his own nature into his pictures.
This technique gained traction on social media platforms, where vibrant, mesmerizing pours captured the attention of art enthusiasts. Artists and hobbyists alike share their creations, inspiring others to dive into this creative process. The results can range from calming waves of color to chaotic bursts, making it a versatile medium for expression.
Whether you're an experienced artist or a complete novice, acrylic pouring offers a wonderful way to explore color and form. The satisfaction of watching the paint swirl and settle is incredibly rewarding, turning each piece into a unique work of art.
Essential Materials for Acrylic Pouring
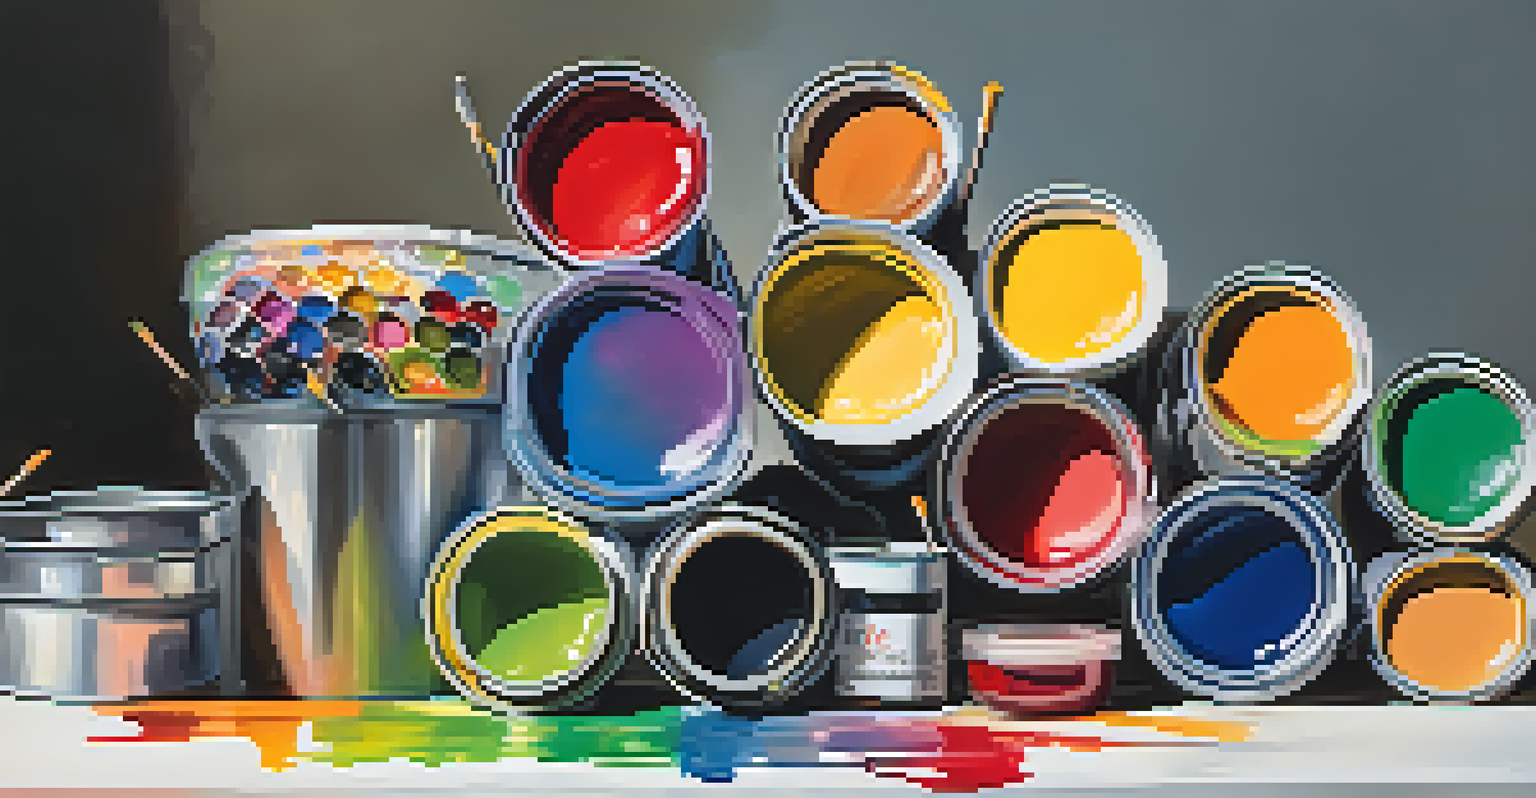
To get started with acrylic pouring, you’ll need some essential materials. First, high-quality acrylic paints are a must, as they will affect the final look of your artwork. Additionally, you'll need pouring mediums, which help to achieve the right consistency for the paints, allowing them to flow smoothly across the canvas.

Don't forget about the canvas! Pre-stretched canvases or wooden panels work well, but you can also experiment with other surfaces like wood or ceramics. A variety of tools such as cups for mixing, stir sticks, and a heat gun or torch to remove bubbles will make your pouring experience easier and more enjoyable.
Acrylic Pouring Basics
Acrylic pouring is an accessible and unpredictable painting technique that allows artists of all levels to create unique abstract designs.
Finally, protect your workspace with a drop cloth or plastic covering, as acrylic pouring can get messy. Having all your materials ready will set you up for a successful pouring session and allow you to focus on the fun part—creating your masterpiece!
Basic Techniques for Acrylic Pouring
There are several basic techniques to explore in acrylic pouring, each yielding different effects. The most common method is the 'dirty pour,' where you layer multiple colors into a single cup and then pour it out onto the canvas. This often results in beautiful, blended patterns that resemble marbling.
The only way to do great work is to love what you do.
Another popular technique is the 'flip cup,' where you fill a cup with paint and then flip it over onto the canvas, allowing gravity to do the work. This method can create striking designs as the paint flows out in unexpected ways. You can also experiment with the 'swipe' technique, where you use a tool to drag the paint across the canvas for a unique finish.
Each of these techniques has its charm, and trying them out can help you find your personal style. Don’t be afraid to mix and match methods to create your own signature look!
Adding Unique Effects with Cell Formation
Cell formation in acrylic pouring refers to the beautiful, bubble-like patterns that can appear on the surface of your artwork. Achieving cells often involves using additives like silicone oil or dimethicone in your paint mixtures. When heat is applied, these additives create a reaction that pushes the paint apart, resulting in stunning visual effects.
To enhance cell formation, it’s crucial to mix your paints properly. Too much or too little of an additive can affect the outcome, so it’s worth experimenting to find the right balance for your desired effect. Remember to use a torch or heat gun carefully, as too much heat can damage your painting.
Essential Materials Needed
To successfully start acrylic pouring, gather high-quality paints, pouring mediums, and protective materials for your workspace.
Once you master cell formation, your acrylic pours can take on a whole new dimension. The shimmering, organic shapes will add depth and interest to your artwork, making each piece truly one-of-a-kind.
Color Theory and Choosing Your Palette
Understanding color theory can significantly enhance your acrylic pouring experience. A well-thought-out color palette can evoke emotions and create visual harmony. Consider using a color wheel to identify complementary colors that will stand out beautifully when poured together.
Additionally, experimenting with different shades and tones can add depth to your artwork. Using a combination of light and dark colors can create a striking contrast, while analogous colors can produce a more subtle, serene effect. Don’t shy away from trying unexpected color combinations to discover unique results!
Ultimately, your palette should reflect your personal style and intentions for the piece. The colors you choose can transform a simple pour into a captivating visual story.
Common Mistakes to Avoid in Acrylic Pouring
Even seasoned artists can make mistakes when acrylic pouring, but knowing what to watch out for can elevate your work. One common error is not using enough pouring medium, which can lead to a thicker consistency that doesn’t flow well. Always ensure your paints are properly mixed to achieve the desired fluidity.
Another pitfall is pouring too many layers of paint at once, which can muddle the colors and lessen the beauty of your design. It’s often more effective to pour in smaller amounts, allowing each layer to interact naturally. Patience is key in this process, so take your time and enjoy the journey.
Techniques and Effects
Exploring different pouring techniques, like 'dirty pour' and 'flip cup,' can yield diverse and captivating visual effects in your artwork.
Lastly, remember to protect your finished artwork from dust and direct sunlight as it dries. Proper care will preserve the vibrancy of your colors and the integrity of your work long after the pouring session is over.
Finishing Touches and Sealing Your Artwork
After your acrylic pour has dried completely, it’s time to add those finishing touches. Assess your artwork for any areas that may need a little enhancement—this could be adding a varnish for shine or even a frame for presentation. A clear varnish not only adds a glossy finish but also protects the paint from dust and UV damage.
If you notice any imperfections or areas that you’d like to adjust, consider using acrylic paints or markers to touch them up. This can add a personal, artistic flair and ensure your piece is exactly how you envision it. Remember, it's all about making the artwork reflect your unique style!
Lastly, think about how you want to display your masterpiece. Whether hanging on a wall, resting on a shelf, or even gifting it to a friend, showcasing your work is an important step in celebrating your creative effort. Each piece tells a story—let yours be seen and appreciated!