Key Techniques in Mural Painting: A Comprehensive Guide
Understanding the Basics of Mural Painting Techniques
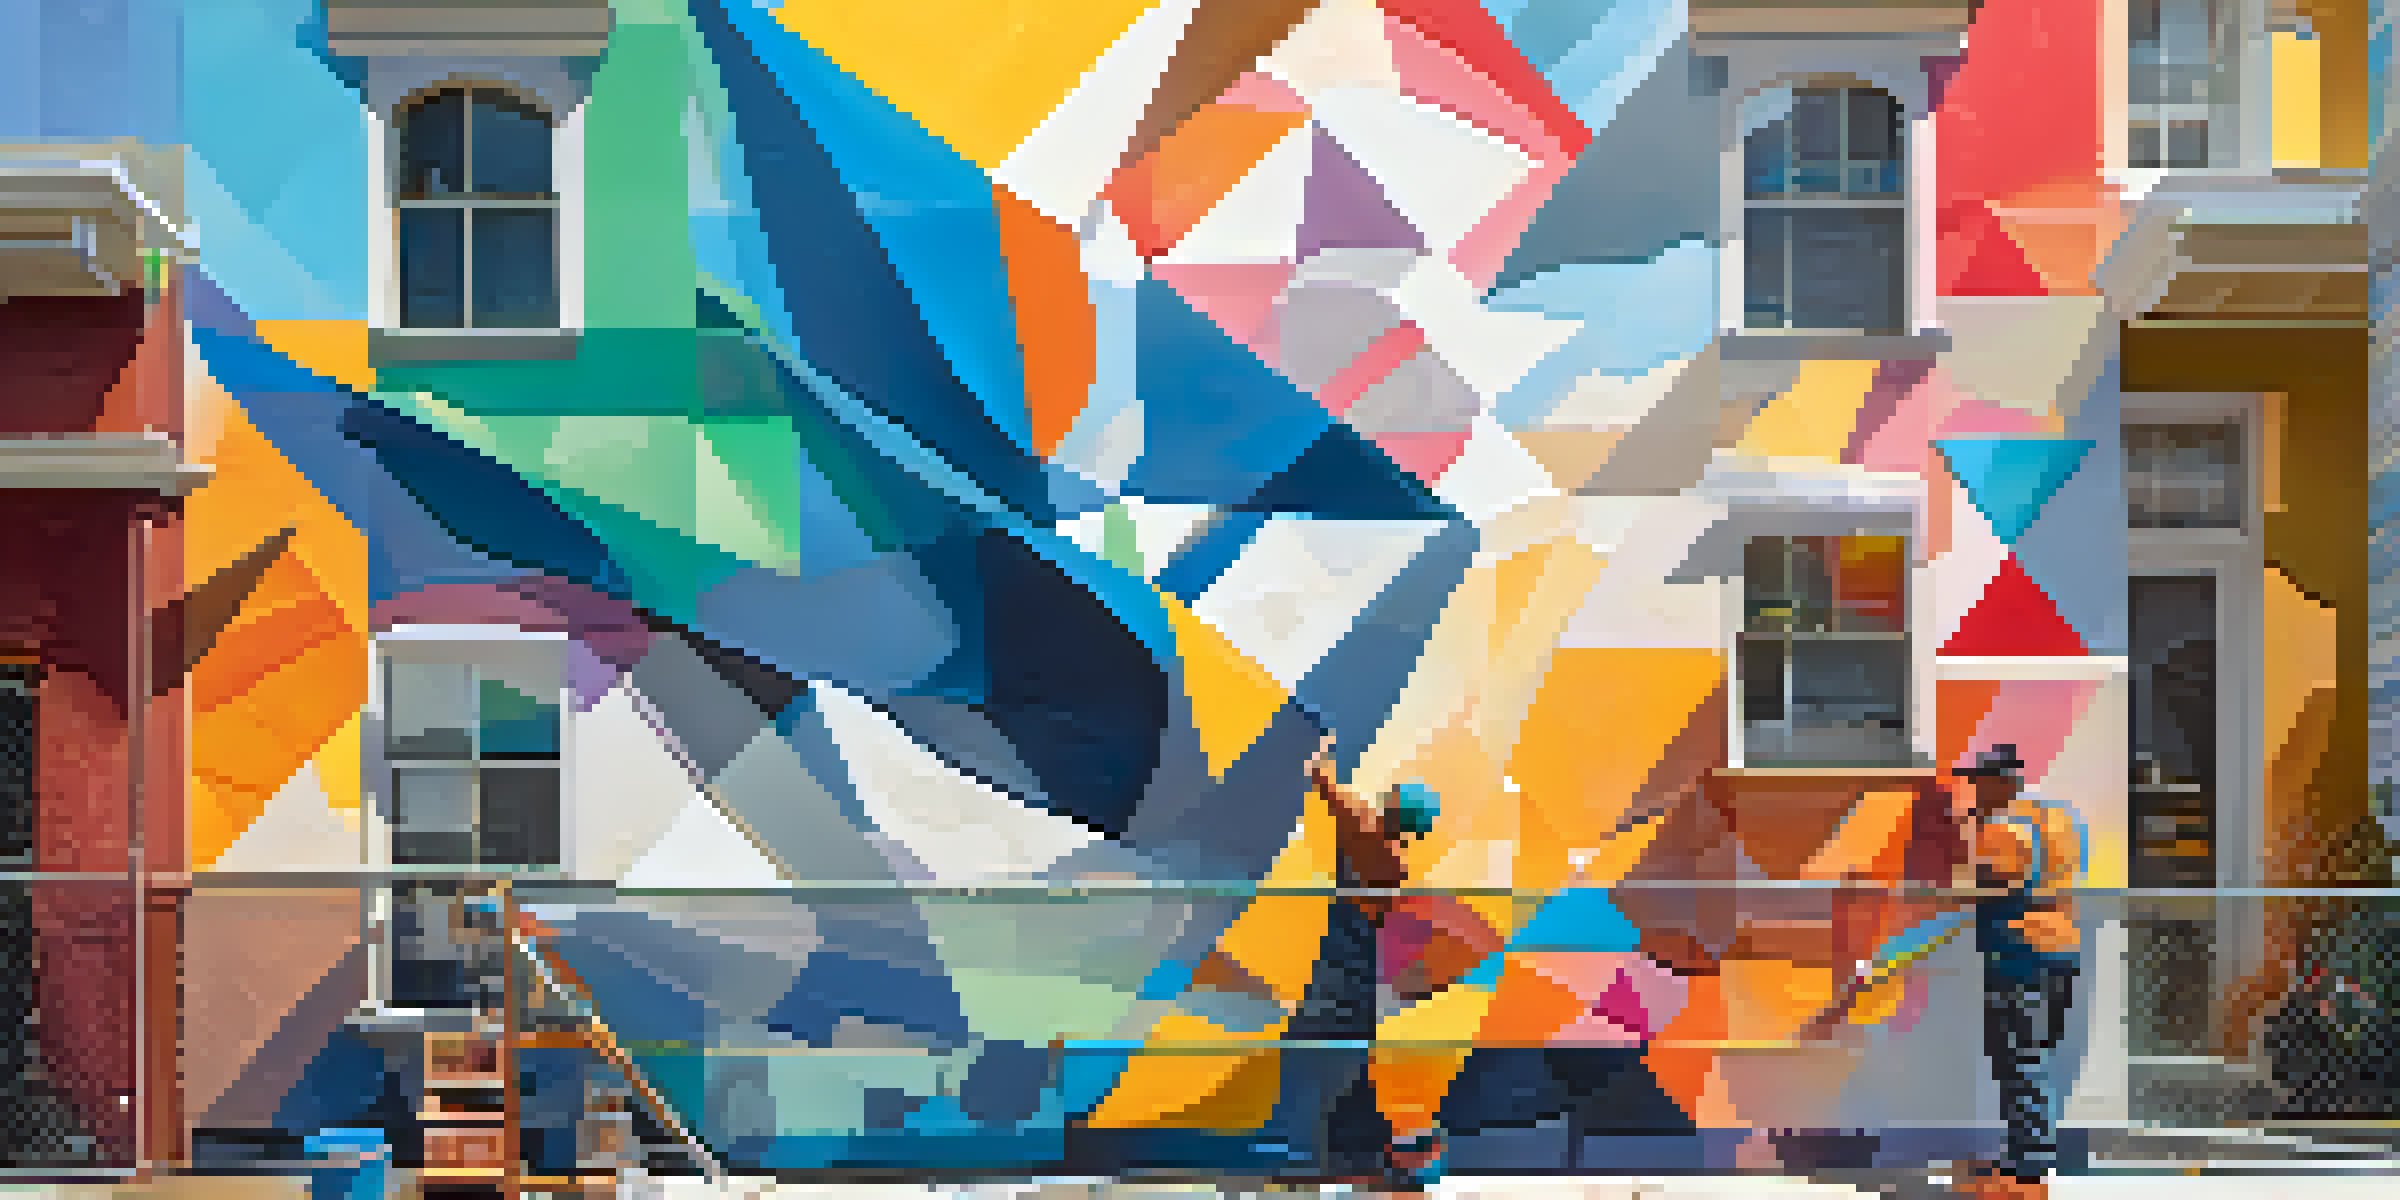
Mural painting is a captivating form of art that transforms spaces. At its core, it involves creating large-scale artworks directly on walls or ceilings. Understanding the basic techniques is crucial for any aspiring muralist, as they lay the foundation for your creative expression.
Every artist was first an amateur.
Before diving into the process, it's important to familiarize yourself with various styles and methods, such as fresco, spray painting, and stenciling. Each technique has its unique characteristics and can dramatically affect the final outcome of your mural. By knowing these basics, you'll be better equipped to make informed decisions as you embark on your mural journey.
Moreover, practice is key. Starting with small projects allows you to experiment with different techniques, helping you develop your skills and find your artistic voice. Remember, every great muralist started somewhere!
Choosing the Right Surface for Your Mural
The surface you choose can significantly impact your mural's appearance and longevity. Common surfaces include brick, concrete, drywall, and even wood. Each material has its own texture and absorption qualities, which can influence the application of paint and overall look.
For instance, rough surfaces like brick may require extra prep work, such as cleaning and priming, to ensure an even finish. On the other hand, smooth surfaces like drywall are generally easier to work with but might need a special primer to prevent paint from peeling.
Master Basic Techniques First
Familiarizing yourself with mural painting techniques like fresco and stenciling is essential for effective creative expression.
Ultimately, take the time to evaluate the surface where you'll be painting. Understanding its characteristics will help you select the right materials and techniques, ensuring your mural looks stunning for years to come.
Sketching Your Design: The Blueprint of Your Mural
Before applying paint, creating a sketch or blueprint of your mural is essential. This step allows you to visualize the overall composition and make adjustments before committing to paint. Whether you prefer traditional pencil sketches or digital designs, having a plan can save you time and frustration later.
Art is not freedom from discipline, but disciplined freedom.
Additionally, using a grid method can help you scale your design accurately onto the wall. By dividing your sketch into smaller sections, you can replicate the proportions more easily, ensuring every element fits harmoniously within the larger space.
Remember, this is your opportunity to be creative! Don't hesitate to experiment with different layouts or color schemes during this stage. The more thought you put into your design, the more successful your final mural will be.
Selecting the Right Paints and Materials for Murals
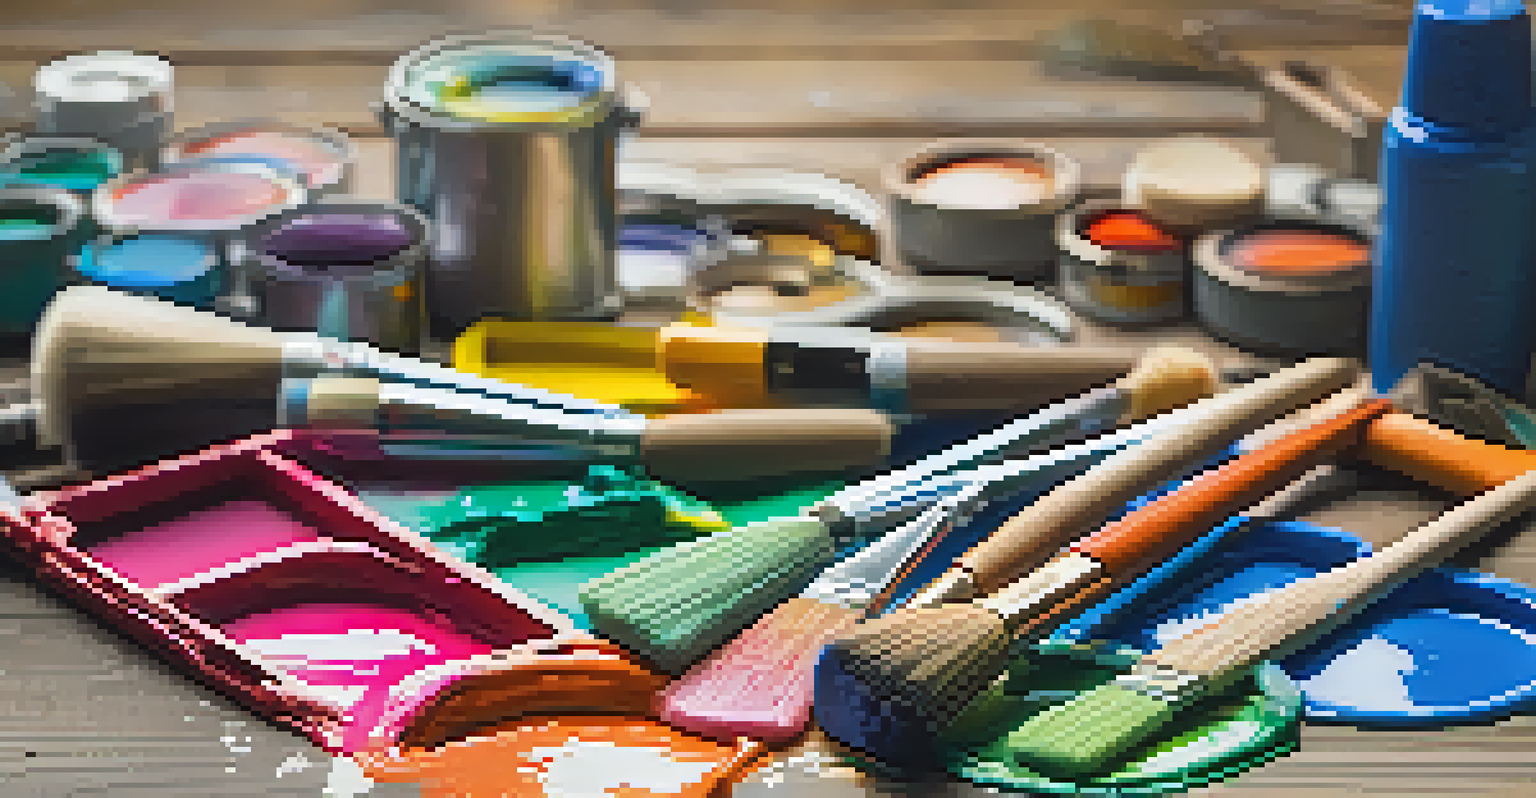
Choosing the right paints and materials is a crucial step in the mural painting process. Acrylic paints are a popular choice due to their vibrant colors and quick drying times, making them ideal for large projects. Additionally, consider using exterior-grade paints if your mural will be exposed to the elements, as they offer better durability.
Don't forget about other materials like brushes, rollers, and spray paint. Each tool can produce different effects, allowing you to add depth and texture to your artwork. For example, sponges can create interesting patterns, while spray paint can help achieve smooth gradients or bold outlines.
Choose the Right Surface Carefully
Evaluating the surface for your mural ensures the right materials and techniques are used for a stunning and lasting result.
Ultimately, investing in high-quality materials will ensure your mural not only looks great but also stands the test of time. So, take the time to research and select the right supplies for your project.
Preparation: Setting the Stage for Your Mural
Preparation is key to a successful mural painting experience. Start by cleaning the wall surface thoroughly to remove any dirt, dust, or grease that could interfere with paint adhesion. Depending on the surface, you might also need to patch up any holes or imperfections to create a smooth canvas.
Next, apply a primer to your surface if necessary. Priming helps the paint adhere better and can enhance color vibrancy, especially on porous surfaces like concrete or brick. It's a simple step that can make a significant difference in the final outcome of your mural.
Lastly, gather all your materials and set up your workspace. Organize your paints, brushes, and any other tools you’ll need within easy reach. A well-prepared environment will allow you to focus on your creativity without unnecessary interruptions.
Techniques for Applying Paint: Brushwork and More
Once you're ready to start painting, it's time to explore various application techniques. Brushwork is a fundamental skill every muralist should master. Different brush types can create unique effects, from fine details to broad strokes, allowing for a wide range of artistic expression.
In addition to brushes, consider using rollers and spray paint for different textures and finishes. Rollers help cover large areas quickly, while spray paint can create smooth gradients or hard edges. Mixing techniques can lead to dynamic results, making your mural truly stand out.
Protect Your Artwork After Painting
Applying a protective sealant after completing your mural is crucial to safeguard it from damage and ensure its longevity.
Don’t be afraid to experiment and play with your application methods. This is where the magic happens, and each stroke adds personality and depth to your mural. Remember, practice makes perfect!
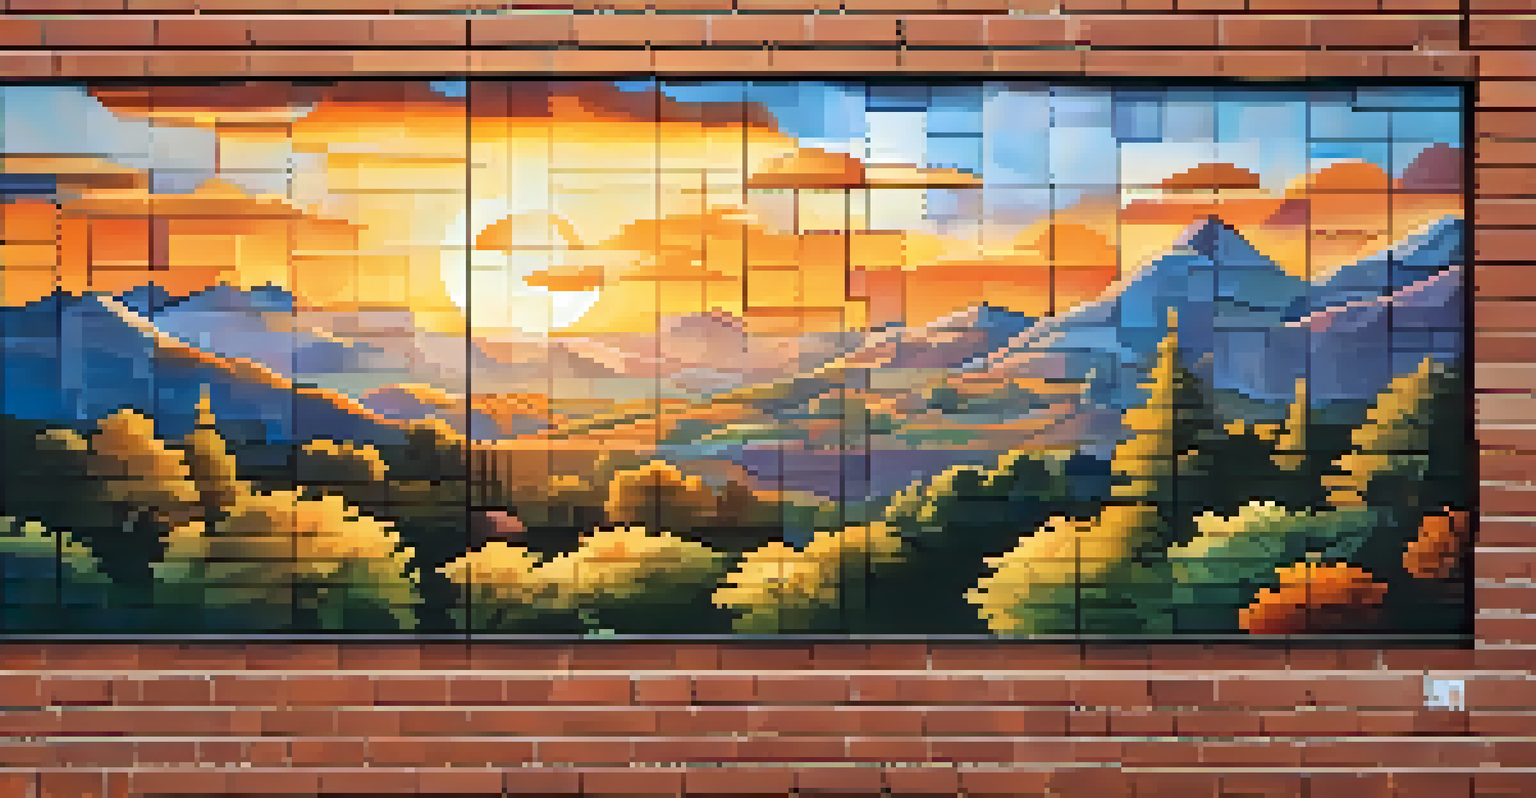
Finishing Touches: Sealing and Protecting Your Mural
After completing your mural, applying a protective sealant is crucial. This step safeguards your artwork from the elements, UV rays, and general wear and tear. Choosing the right sealant depends on the type of paint used and whether your mural is indoors or outdoors.
For outdoor murals, consider using a UV-resistant spray or clear coat to prevent fading over time. For indoor murals, a matte or glossy finish can enhance the colors and protect against scratches. Consulting with a local art supply store can help you find the best product for your specific needs.
Finally, step back and admire your work! Completing a mural is a significant achievement, and celebrating your hard work is just as important as the painting itself. Share your creation with friends, family, and on social media to inspire others!